 14462
14462
By default all outbound emails are sent via HappyFox mail-servers. You can use your own email server to send replies and other notification emails by setting up SMTP for email channels.
Note:
If your HappyFox account has Channels, please refer this article for the same steps: https://support.happyfox.com/kb/article/950-how-to-set-up-an-email-channel-/
The steps to do this are as outlined below:
Step 1: Navigate to Manage >> Categories and click edit next to the category you're looking to configure the SMTP for.
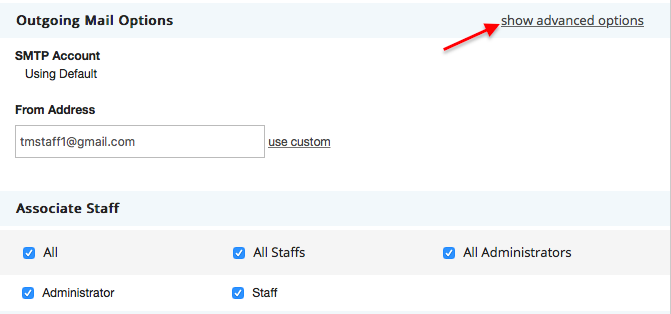
Step 2: Scroll down to Outgoing Mail Options, click show advanced options, and accept any pop-ups or prompts that appear.

Step 3: Select "Use Own SMTP" from the drop down menu under SMTP Account.

Step 4: Enter your SMTP account's hostname details and credentials in the respective fields.

Step 5: Click "Test Connection" to verify if the credentials you entered are all correct, and to confirm if the SMTP server connection works.

Step 6: Add the spf record "include:spf.happyfox.com" to your DNS. We strongly recomment to set the SPF record to ensure all the replies sent from HappyFox are delivered to your customers.
Step 7: Once you have added the SPF record, you can verify the status in HappyFox using "Re-verify" option.
Hit save to confirm the changes made.


