The below article refers to “HappyFox New” version. If you are in “Classic HappyFox” then refer to this article.
Contacts in HappyFox are customers or end users who raise tickets. HappyFox allows you to maintain a profile for all your customers making communication easier.
Once a customer raises his first ticket, he is automatically added to your contacts. You can also manually add contacts or do a bulk import.
IN THIS ARTICLE
To add a contact manually, login to your agent account, go to Main Menu > Contacts > All Contacts

The contacts page displays a list of contacts and contact groups, Choose contacts section in it.
-
To add a new contact, click the “+” icon beside “All Contacts” title.
Tips: If you want to add more than one contact, refer our “Import Contacts” article to proceed. The Import Contacts link will be accessible only for the account admin. This feature is available for accounts on all pricing plans.

-
This opens the add contact form with below fields
-
Full Name - This will be the contact’s name you would like to save it as.
-
Email ID - Your contact’s email ID through which he has/will raise tickets should be entered here.
-
Phone Number - Your contact’s phone number.
-
Note: Either the phone number or Email ID is a compulsory field that needs to be filled by the agent. Saving phone numbers will be useful when you helpdesk support service through calls as well where you can call back your contacts from tickets in one click. To know more about our phone integration read this article
-
Contact custom fields - These are the custom fields you had created to record more information about a contact apart from his personal information such as the billing type, the customer type(VIP, Enterprise) etc to provide a personalized support. You can choose to add more information while you create the contact or later from ticket > custom fields sidebar as you respond to their tickets.

3. Select the “Generate and email a password to the contact” option to email the contact an auto-generated password that the contact can use to log into support center and click save.
Permissions: Agents with "Create Contact" permission can perform the above action.
You can view more detailed information such as the total number of tickets and the number of pending tickets raised by contact in your “Contact detail page”
1. Click on the name of the contact in the Contacts page which opens the “Contact Details” page.

2. Clicking the “Ticket Count” above the pending/all tickets will navigate to the ticket list page showing all the tickets raised by the contact in pending/all queue.
3. The sidebar will display an editable list of contact groups that the contact is associated with and a list of custom fields.
4. Recent tickets display the recently updated tickets of the contact.
Note: Agents can view only the tickets he has access to as per the permissions he/she has.
Permissions: All the agents can view the contacts they have access to(the contact has raised at least a ticket in the category to which the agent is associated) by default. To view contacts that are unassociated(a contact who has not raised any tickets in the category to which an agent has access to), the agent has to have the "View Unassociated Contacts" permission to view this information.
To edit the details of an existing Contact, simply click the Contact’s name. Click “Edit”, and you will be prompted with a new window, where you can make the necessary changes. 
To delete a contact, click the “More Actions > Delete”, which will prompt a dialog box which reconfirms that contact delete will delete the tickets associated with the contact as well.
To confirm the delete, click the “Delete Contact” button, or to cancel the delete operation, click the “Cancel” button.
Note: Once a contact is deleted, the tickets associated with that particular contact would also be deleted.
-
Agents need to have the below permission to perform Edit/Delete actions
-
Edit Contacts: To edit associated contacts(contacts who have raised at least one ticket in the category to which the agent is associated)
-
Delete Contacts: To delete associated contacts(contacts who have raised at least one ticket in the category to which the agent is associated)
-
Edit Unassociated Contacts: To edit unassociated contacts(contacts who have not raised any ticket in the category to which the agent is associated)
-
Delete Unassociated Contacts: To delete unassociated contacts(contacts who have not raised any ticket in the category to which the agent is associated)
-
You can search for a specific contact by using the Search bar on the top right:

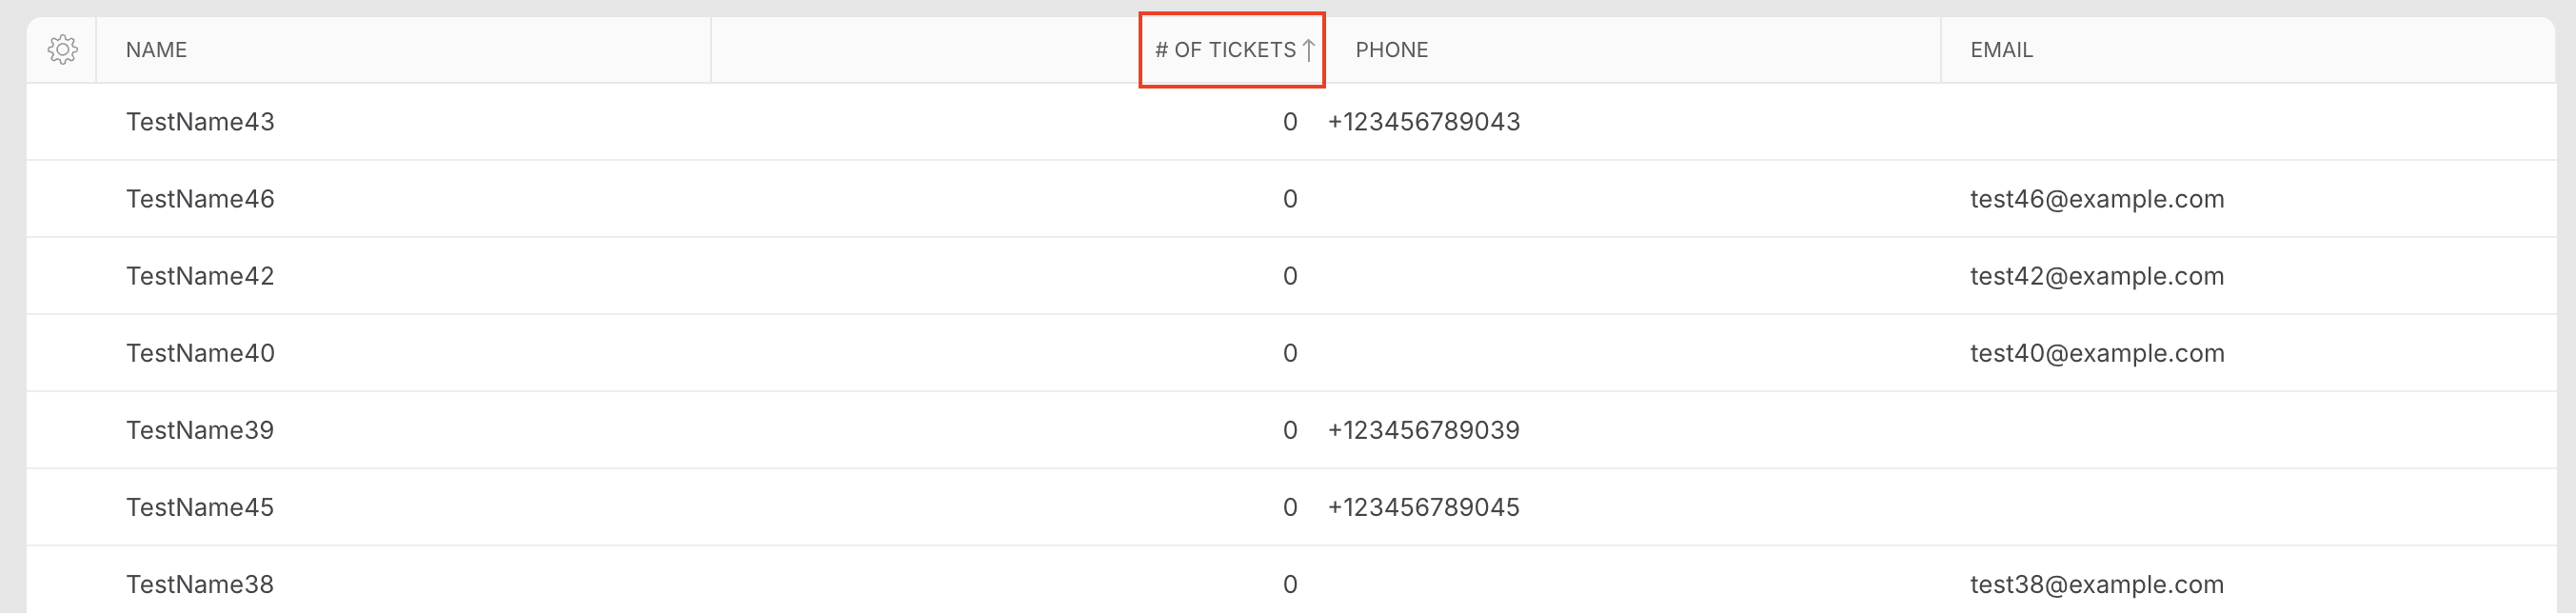
You can also sort the contacts in the list by their Name, Email or Number of Tickets:
- I do not see the “Change contact” in ticket more action.
Only Agents with “Change ticket Contact” permissions can do this action. Make sure this permission is enabled to view that option.
2. I do not see the “Import Contact” option.
“Import Contact” is present only for the account administrator. If you are the account admin and still do not see the option reach out to us.
You might also want to read Change ticket contact, Create a contact group, Merge Contacts.