HappyFox can send outgoing ticket replies and other emails through your own mail server over SMTP. When that mail server is Microsoft 365 (Office 365), Microsoft requires an SMTP relay connector to be configured on the tenant so it recognizes and accepts mail arriving from HappyFox, instead of flagging or rejecting it as untrusted. This guide walks through creating that connector in the Exchange admin center.
Before you start: you'll need Exchange Administrator or Global Administrator access to the Microsoft 365 tenant. Since this change affects mail flow for the whole organization, it's best done during a quiet period, and you should plan to send a test email once the connector is in place.
Step 1: Sign in to the Microsoft 365 tenant and open the Exchange admin center. In the left-hand menu, go to Mail flow, then Connectors.
Step 2: Select the + icon to start a new connector.
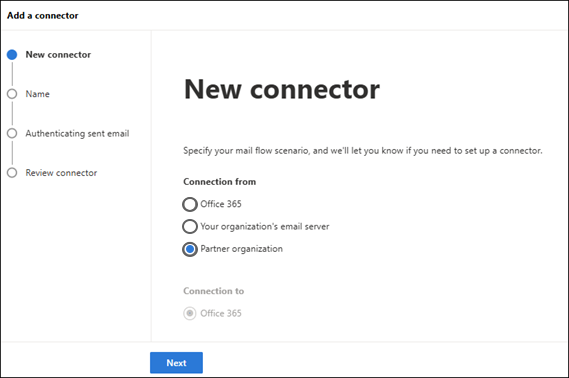
Step 3: Under Select your mail flow scenario, set "From" to Partner organization and "To" to Office 365, then select Next.
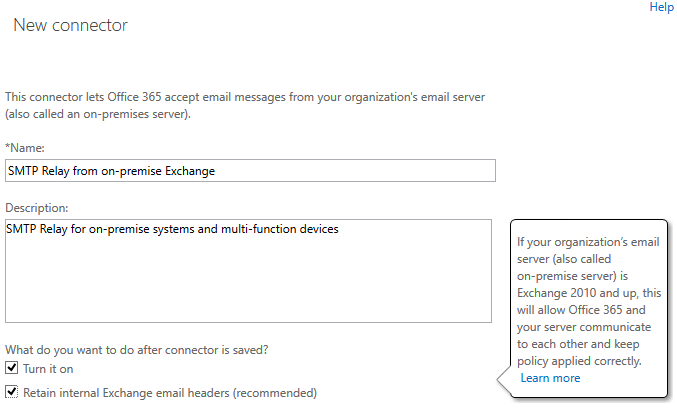
Step 4: Enter a Name and Description that will make this connector easy to identify later, for example "HappyFox SMTP Relay." Leave both checkboxes — Turn it on and Retain internal Exchange email headers — selected, then select Next.
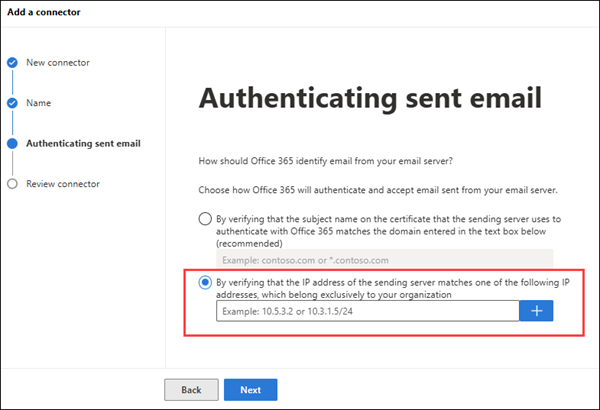
Step 5: Under How should Office 365 identify email from your email server, choose the second option, verifying by IP address, then select the + icon to start adding HappyFox's IP addresses.
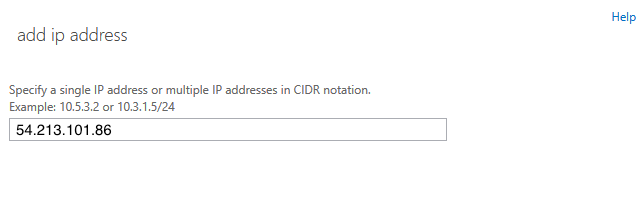
Step 6: Add only the IP addresses for your data center — check whether your HappyFox URL ends in .com (US) or .net (EU) below. Then add each address one at a time, selecting OK after each.
For US Data Center accounts, your URL will typically end in .com (e.g., yourorg.happyfox.com:
- 54.213.101.86
- 54.213.101.90
- 54.218.238.220
- 54.187.103.206
- 54.200.182.110
- 52.40.203.205
- 54.200.5.133
- 52.89.177.132
- 52.39.127.104
- 34.223.183.171
- 54.185.198.195
- 54.185.51.55
- 54.214.75.131
For EU Data Center accounts, your URL will typically end in .net (e.g., yourorg.happyfox.net)
- 54.93.37.50
- 54.93.38.48
- 3.75.78.9
Once every address has been added, select Next.
Step 7: Review the connector summary and select Save to finish.
After you finish: Send a test email through HappyFox to confirm delivery through the relay. If mail doesn't go through, double-check that every HappyFox IP address was saved correctly and that no other mail flow rule in the tenant is blocking the connector. You can also verify the connector’s mail flow scenario matches how HappyFox actually sends mail, and use the message trace tool in the Exchange admin center to see where a message was rejected or delayed.