


 12621
12621
HappyFox allows you to create, edit and manage assets. In addition to managing assets, you can also create associations between assets and tickets. Using the new asset management module, you can easily keep track of the assets against which the tickets have been raised - all within HappyFox.
✖️ Basic ✖️ Team ✔️ Pro ✔️ Enterprise PRO
✔️ Growth ✔️ Scale ✔️ Scale Plus ✔️ Ultimate
Assets
Asset Management Module in Main menu
Asset Management will show up as an independent module in the module switcher to users having “Manage Assets” managerial permission.

Asset Types
HappyFox Asset Management makes it easy for admins to group or categorize assets into multiple asset types and customize each of them based on need. Click here to know more on asset types.
Assets - List View
On navigating to the Asset Management module, you can create, search and edit assets.
-
Click on the “+” button to create new assets.
-
Click on an asset from the asset-list page to edit it.
-
Use the search bar to search and find new assets.

Creating Assets
While creating an asset, you can specify the following properties
-
Name (mandatory): Asset Name
-
Display ID (mandatory): Unique display identifier
-
Asset Category (optional): For choosing the type of asset
-
Hardware
-
Software
-
Others
-
-
Description (optional): Additional details about the asset for internal purposes

Editing, Cloning & Deleting Assets
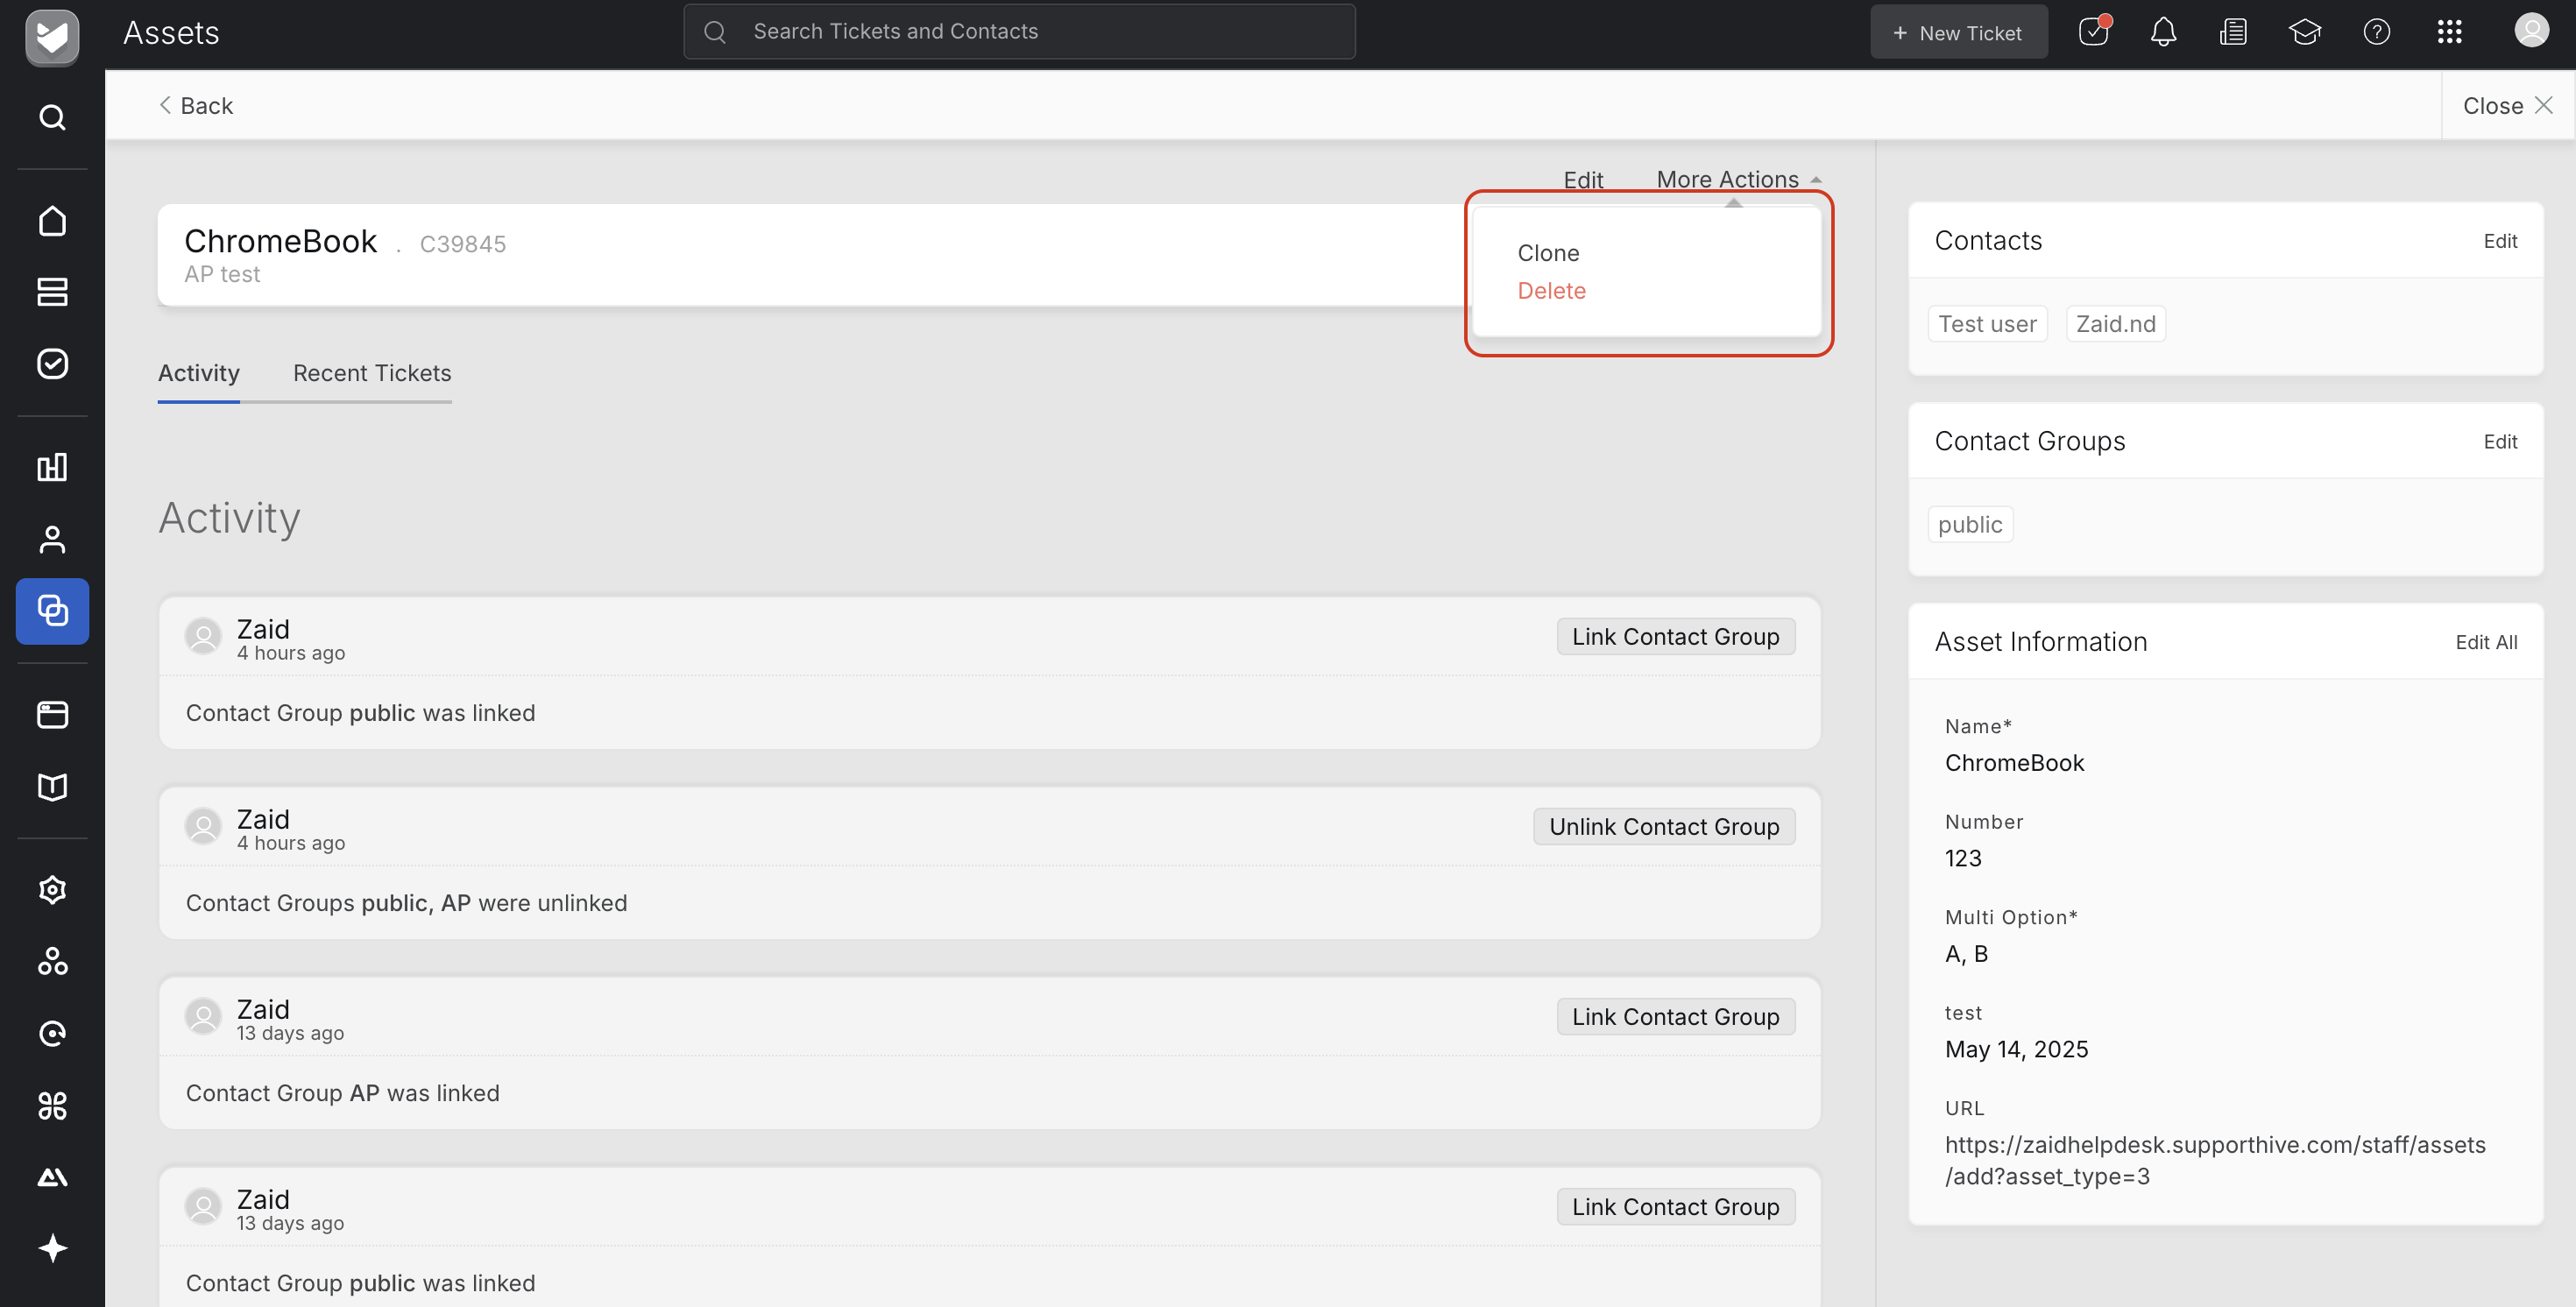
Click on an asset in the Asset-List page would open the Asset Details page. You can edit the fields, contact associations, delete or clone an asset.
Linked Assets in Tickets
You can link one or more assets to a ticket from the ticket-detail screen. Once you are in the ticket-detail screen, you can find the linked assets on the right pane.
Creating, editing and deleting asset association with tickets can be done by all users.
To view more details about the linked asset, you can expand the accordion as shown above.
Tip: Agents and contacts can also attach assets at the time of ticket creation, providing context such as owner, location, or warranty details from the very start of the request.
For step-by-step instructions, see Linking Assets to a Ticket.
Linking Assets to a Ticket
To link one or more assets to a ticket, click on the “+” button. You can then search for existing assets to associate with the ticket.

The search will match against the name of the asset and the DisplayID fields to show relevant results. Once you choose an asset, you can then specify the quantity that needs to be linked with the ticket and save it.
The quantity field is specific to the ticket and captures information about the ticket-asset association. This information cannot be viewed from the asset-detail screen.
Editing & Deleting Linked Assets
Click on the “Edit” text link to edit linked assets. You can modify only the quantity.
To delete the asset, hover on the linked asset and click on the trash icon. Choose “Delete” from the confirmation pop-up.

The delete action only removes the asset-ticket association. It does not delete the asset.
Activity Logs for Linked Assets
The following operations on linked assets add a corresponding activity log on the ticket.
- Adding a linked asset to a ticket
- Deleting a linked asset from a ticket
- Updating the quantity of a linked asset

A frequent user of HappyFox's Asset Management module 🤔? Try out our dedicated Asset Manager mobile app 🔥! Download on Play Store and App Store. Access Documentation on the asset manager app here 📚.

