 11467
11467
This article outlines the steps required to set up the HappyFox plugin inside a Salesforce account.
Requirements:
- A valid HappyFox (trial or paid) account
- A valid Salesforce account
This is the link to download the latest version of the plugin - https://login.salesforce.com/packaging/installPackage.apexp?p0=04t90000000FL5d
Configuration notes:
Remote settings: Before Salesforce can make requests to your HappyFox account, you should whitelist your HappyFox Account URL so Salesforce knows that it can make external requests to this URL.
Once the package is installed, click ‘Setup’ next to your name in your Salesforce URL. In the ‘Administer’ menu section in the left pane, go to Security Controls -> Remote Site Settings -> Add New Remote Site. Enter a name
and the URL of your HappyFox account (https://subdomain.happyfox.com or https://support.domain.com)

Linking HappyFox Account: Click on the drop-down menu in the extreme top right and select ‘HappyFox’. Enter your HappyFox Account URL excluding http/https, the API and Auth key.
Staff Selection for Private Notes: Once you’ve done the previous step, you’ll be asked to select a staff who will be the author of Private Notes created from inside Salesforce. Select a staff and save the form.

Now that HappyFox and Salesforce are successfully connected, you can now switch back to your previous application (Sales, Marketing, etc.) by clicking on the drop-down menu in the top right corner.
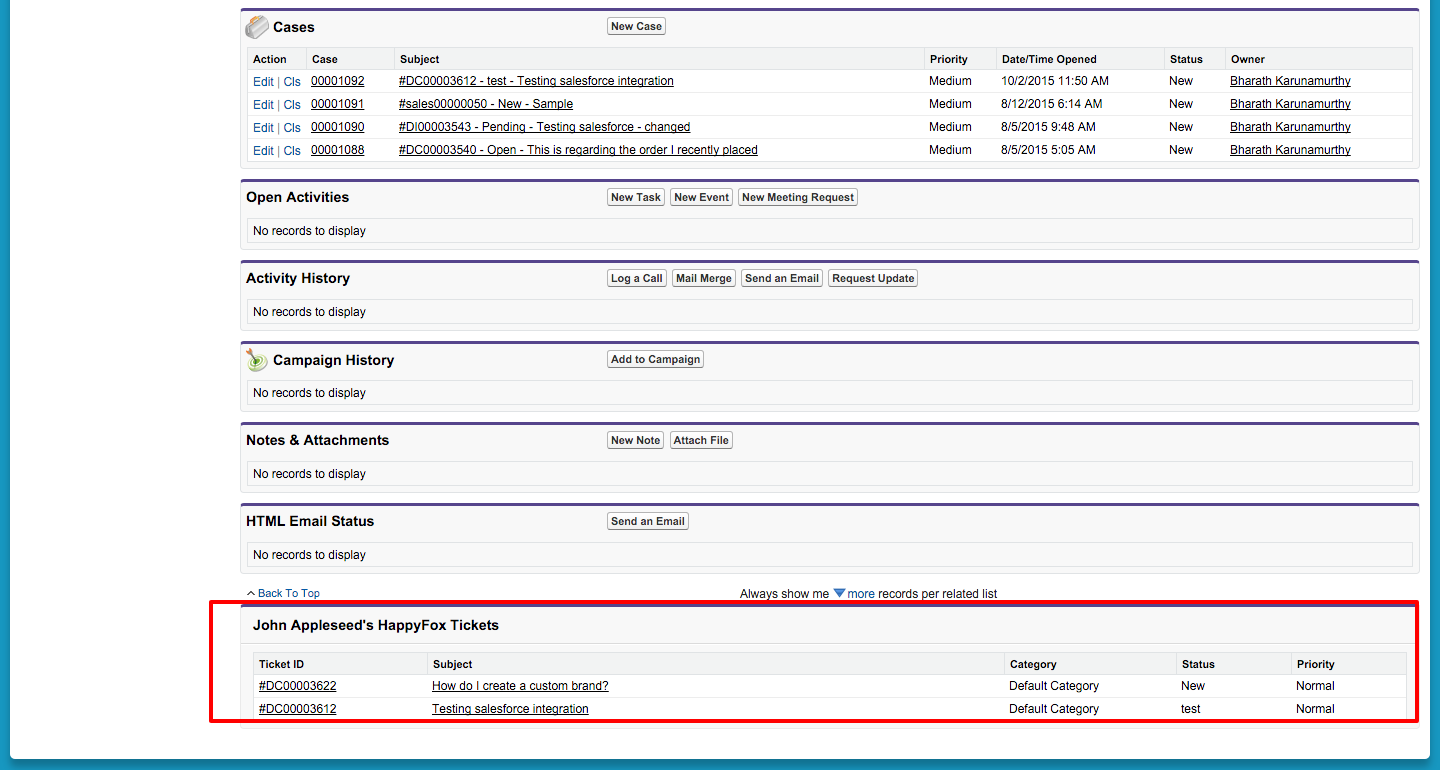
Displaying HappyFox Data: Tickets from HappyFox are pulled and displayed in Contact, Lead and Account detail pages in Salesforce.
To display HappyFox Tickets in Contact Detail page, click ‘Setup’ and in the ‘Build’ menu section, go to Customize -> Contacts -> Buttons, Links, and Actions. Click on the ‘Edit’ link next to ‘View’ label. Against ‘Override with’ select ‘VisualForce Page’ and choose ‘HappyFox Lead Tickets’ from the drop-down menu.


Similarly, select Accounts or Leads under 'Customize’ menu to display HappyFox Tickets in the relevant pages.


