This article explains how to build a custom form using the drag-and-drop form builder in HappyFox Workflows, configure its fields and properties, and share it or review its submissions.
Note: This article covers the built-in Forms feature inside HappyFox Workflows, which you use to build custom forms that can feed data into or trigger workflows. It is separate from the native ticket forms available in HappyFox Help Desk or HappyFox Service Desk.
Applicable Plans: Available on all plans.
Prerequisites
- Any agent with access to HappyFox Workflows can create and edit forms from the Manage section.
Creating the form
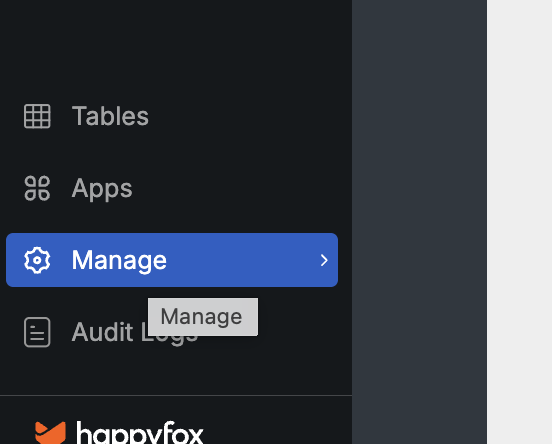
- Click Manage in the left sidebar.
 The Manage menu highlighted in the left sidebar.
- Select Forms from the Manage menu.
- Click the + button next to Forms.
- Enter a name for the form in the Name field of the Create New Form dialog.
- Click Create Form.
This opens the form builder, where you add and configure fields, then set the form's overall properties.
Adding and configuring fields
- Drag a field type from the Form Fields panel and drop it onto the Build Your Form area. The available field types are Text (Single Line), Text Area (Multi Line), Number, Dropdown, Multiple Option, Date, and Files (Multiple Files).
- Click the field on the canvas to open its properties panel on the right.
- Enter a label for the field in the Label field.
- Optionally, enter guidance text for the field in the Label Help Text field.
- Optionally, click + under Depends On to make the field appear only when a condition is met. Click + to open the Add Condition panel, then search for and select the Dropdown field this field should depend on. Only Dropdown fields are available as conditions.
The Add Condition panel under Depends On, with a search field for selecting a Dropdown field to base the condition on.
Note: Depends On conditions always use Match All logic — every condition you add must be true for the field to display. There is no option to match any condition instead.
- Toggle Required on if the field must be filled in before the form can be submitted.
- Optionally, enter a value in the Default Value field to pre-fill the field.
- Repeat steps 6–12 for each field you want to add to the form.
The configuration panel for a Text (Single Line) field, showing Label, Label Help Text, Depends On, Required, and Default Value.
Note: The Number, Dropdown, Multiple Option, and Date field types use this same properties panel. A form is simply a list of configured fields — Dropdown and Multiple Option fields do not have a separate section for defining a list of selectable options.
The Files (Multiple Files) field type includes one additional property.
The configuration panel for a Files (Multiple Files) field, including the Add a Prefix to the File Name checkbox.
Note: Check Add a Prefix to the File Name to prepend a value to the names of uploaded files. Leave it unchecked to retain each uploaded file's original name.
On the canvas, each field also has Delete and Clone buttons for removing the field or duplicating its configuration.
Setting the form properties
- Click Form Settings at the top of the canvas to open the form-level properties panel.
- Confirm or update the form name in the Name field.
- Optionally, enter a Description for the form.
- Enter a label for the submit button in the Primary Button Label field.
- Choose a color for the submit button in the Primary Button Color field.
The form-level Properties panel, including Name, Description, Primary Button Label, and Primary Button Color fields.
- Click Save.
Note: Click Reset to discard unsaved changes and revert the form to its last saved state.
Sharing the form and viewing submissions
- Click Share Link to make the form accessible outside HappyFox Workflows.
- Toggle Enable to make the link Accessible on.
- Click Copy Link to copy the form's public URL.
The Share Form dialog, with the Public Access toggle and Copy Link button.
Note: Enabling Public Access makes the form available to anyone with the link, without requiring them to log in to HappyFox Workflows. Turn this off if you want to restrict the form to internal use.
- Click Submissions to view the form's responses in a table view.
The Submissions table view, showing the form name, a Filter By Duration control, pagination, and column headers matching the form's fields.
Note: Responses cannot be exported from the Submissions page.
Your form is now created and ready to collect responses. Next, trigger a workflow from a HappyFox form submission to route form data into a ticket or another action automatically.