If you're using a custom domain in your HappyFox helpdesk and prefer to use a custom certificate from your own SSL provider (instead of the built-in Cloudflare managed option offered by HappyFox), a bit of prep work up front will save you a failed verification later. This article covers what to gather, how to format it, and how to avoid the most common trip-ups.
What you'll be filling in Once your CNAME record has been verified and you've selected Custom Certificate under SSL settings, HappyFox presents three separate text fields:
- Private Key
- Primary Certificate
- Intermediate Certificate
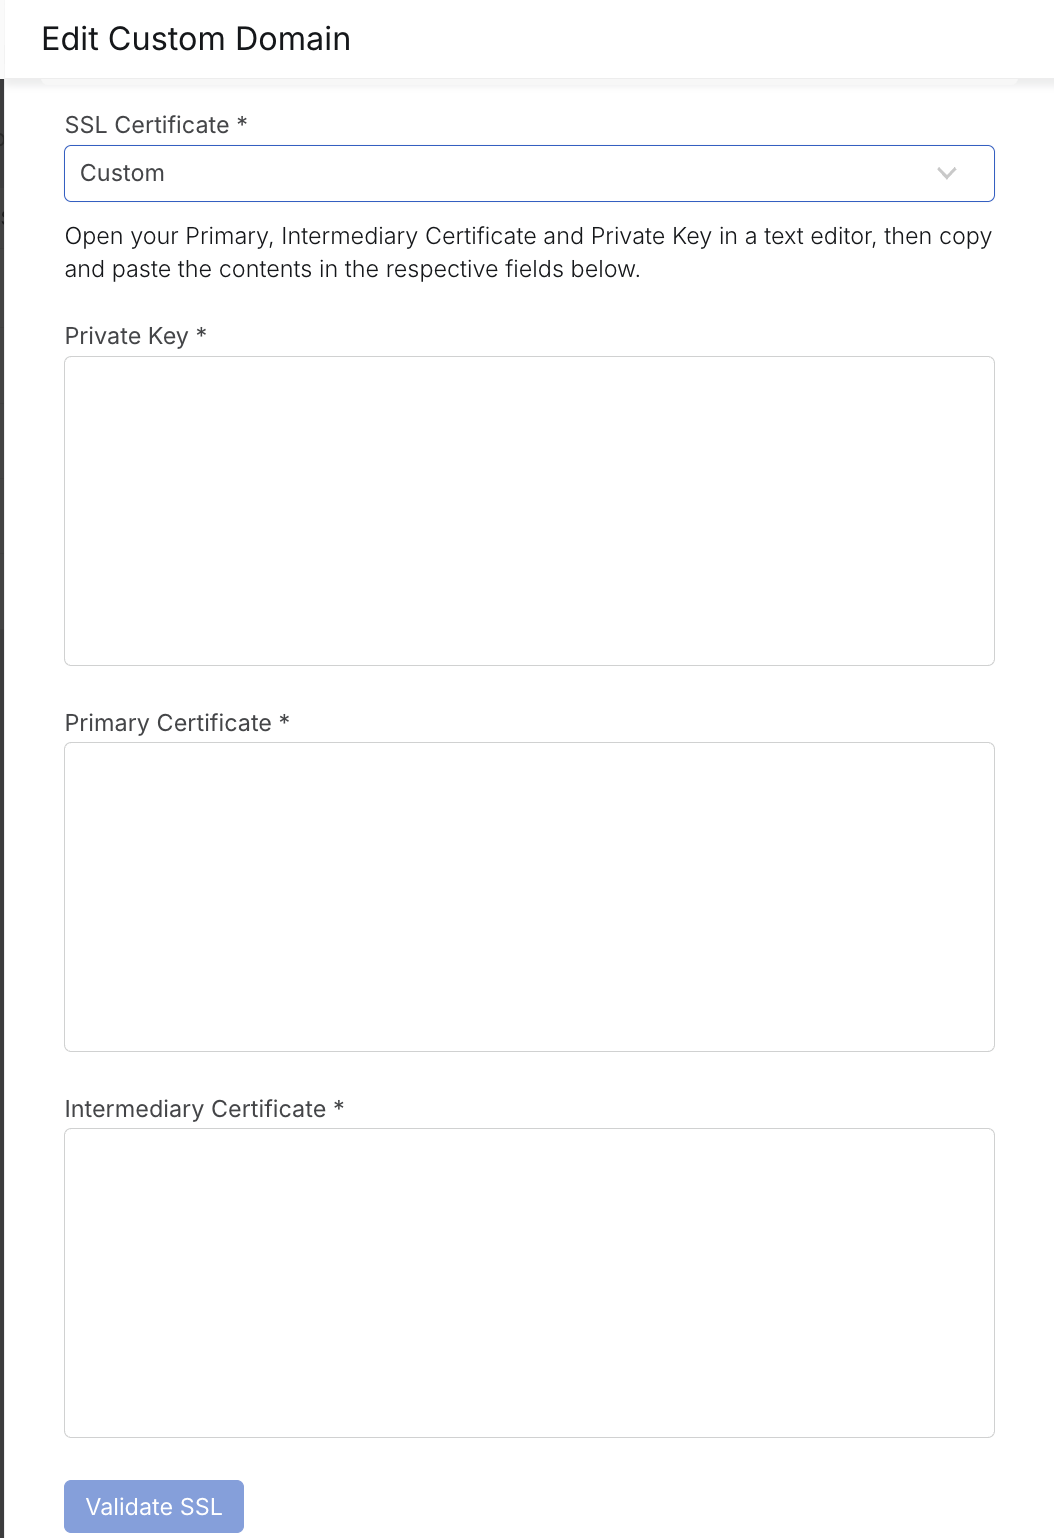
Each one takes plain-text PEM content, the kind of file that opens as readable text and is framed by lines like -----BEGIN CERTIFICATE----- and -----END CERTIFICATE-----. A root certificate isn't needed here; every modern standard browser already ships with the major root CAs pre-trusted, so only your domain's certificate and the intermediate(s) linking it to that root matter.
Gathering the right files from your provider
When a certificate authority issues your certificate, they'll usually send you a handful of files by email or make them available for download from their portal. Look for:
- A file specific to your domain, this is your primary certificate.
- One or more “chain” or “intermediate” files that establish trust back to a root authority.
- The private key that was generated when you created your certificate signing request (CSR).
Some providers bundle everything into one long file instead of separate downloads. If that's what you've got, you can still tell the pieces apart: each -----BEGIN CERTIFICATE----- … -----END CERTIFICATE----- section is one certificate.
The very first one in the file is typically your domain's certificate; everything after it belongs in the intermediate chain.
Note: If you bought your certificate after being pointed to a vendor by HappyFox, the purchase should have been made with the server type set to Apache. It is worth double-checking if the files you received look unfamiliar.
Encrypted private keys must be un-encrypted
HappyFox does not accept a password-protected key. Open your encrypted private file in a text editor. If the first line reads something like Proc-Type: 4,ENCRYPTED,or -----BEGIN ENCRYPTED PRIVATE KEY----- it needs to be decrypted first.
On a machine with OpenSSL available, this does it:
openssl rsa -in your-encrypted-key.key -out your-decrypted-key.key
Enter the passphrase when asked, and use the contents of the resulting file for the Private Key field.
Arranging the intermediate certificates in the right order
If your CA gave you more than one intermediate certificate, they all go into the same Intermediate Certificate field — just paste them one after another, with no blank lines in between, starting with the one that directly signs your primary certificate and working outward toward (but not including) the root:
-----BEGIN CERTIFICATE-----
[certificate closest to your primary cert]
-----END CERTIFICATE-----
-----BEGIN CERTIFICATE-----
[next certificate in the chain, if any]
-----END CERTIFICATE-----
Chain order is the single biggest cause of certificates that verify on some devices but fail on others, so it's worth getting right the first time.
Tidy up before pasting
- A few small formatting slips can cause an otherwise valid certificate to be rejected:
- Confirm each block still has its exact -----BEGIN----- / -----END----- lines intact.
- Strip out extra blank lines or leading/trailing spaces that copy-pasting from an email client sometimes introduces.
- Paste the raw text only, no surrounding quotation marks, no added formatting.
Uploading and verifying
- With everything cleaned up:
- Paste the unencrypted key into Private Key.
- Paste your domain's certificate into Primary Certificate.
- Paste the full intermediate chain into Intermediate Certificate. Click Verify.
A successful check turns on SSL for your custom domain right away.
If something doesn't verify
- Key/certificate mismatch: the private key doesn't correspond to the certificate, often because an old key from a previous CSR got reused by mistake.
- Key still encrypted: decrypt it with the OpenSSL command above and try again.
- Verifies inconsistently across devices: almost always a missing or misordered intermediate certificate.
- Self-signed certificates aren't supported: visitors will still get a browser warning, and clicking past it isn't a safe substitute for a CA-issued certificate.
Prefer not to manage this yourself?
HappyFox can also handle certificate issuance and renewal automatically through Managed Certificate powered by Cloudflare, available on every plan for accounts hosted in the US datacenter. If your domain's DNS has CAA records configured, reach out to [email protected] beforehand to confirm what changes are needed to support this option.