
 32
32
AfterShip is a shipment tracking platform that aggregates delivery information across hundreds of global carriers. It provides normalized shipment status, delivery milestones, estimated delivery dates, and hosted tracking pages.
The HappyFox - AfterShip integration allows support agents to view shipment tracking details directly inside a HappyFox ticket. Agents can quickly access shipment status, carrier information, delivery updates, and tracking events without leaving the ticket view.
This integration provides visibility into shipment tracking information stored in AfterShip, allowing agents to quickly respond to delivery-related customer queries.
Applicable Plans: ✔️ Team ✔️ Pro ✔️ EnterprisePRO ✔️ All Unlimited Agents plans
Required Permissions
You must have the Manage apps settings permission in HappyFox to install, configure, or update this integration.
AfterShip Integration Setup
There are two steps required to configure the AfterShip integration with HappyFox.
Step 1: Generate an API Key in AfterShip
Log in to your AfterShip account.
Click the profile icon in the top-right corner and navigate to:
Manage Organization → Developers
Click Create API Key.
Enable the following scopes when creating the key:
- Read Trackings
- Read Checkpoints
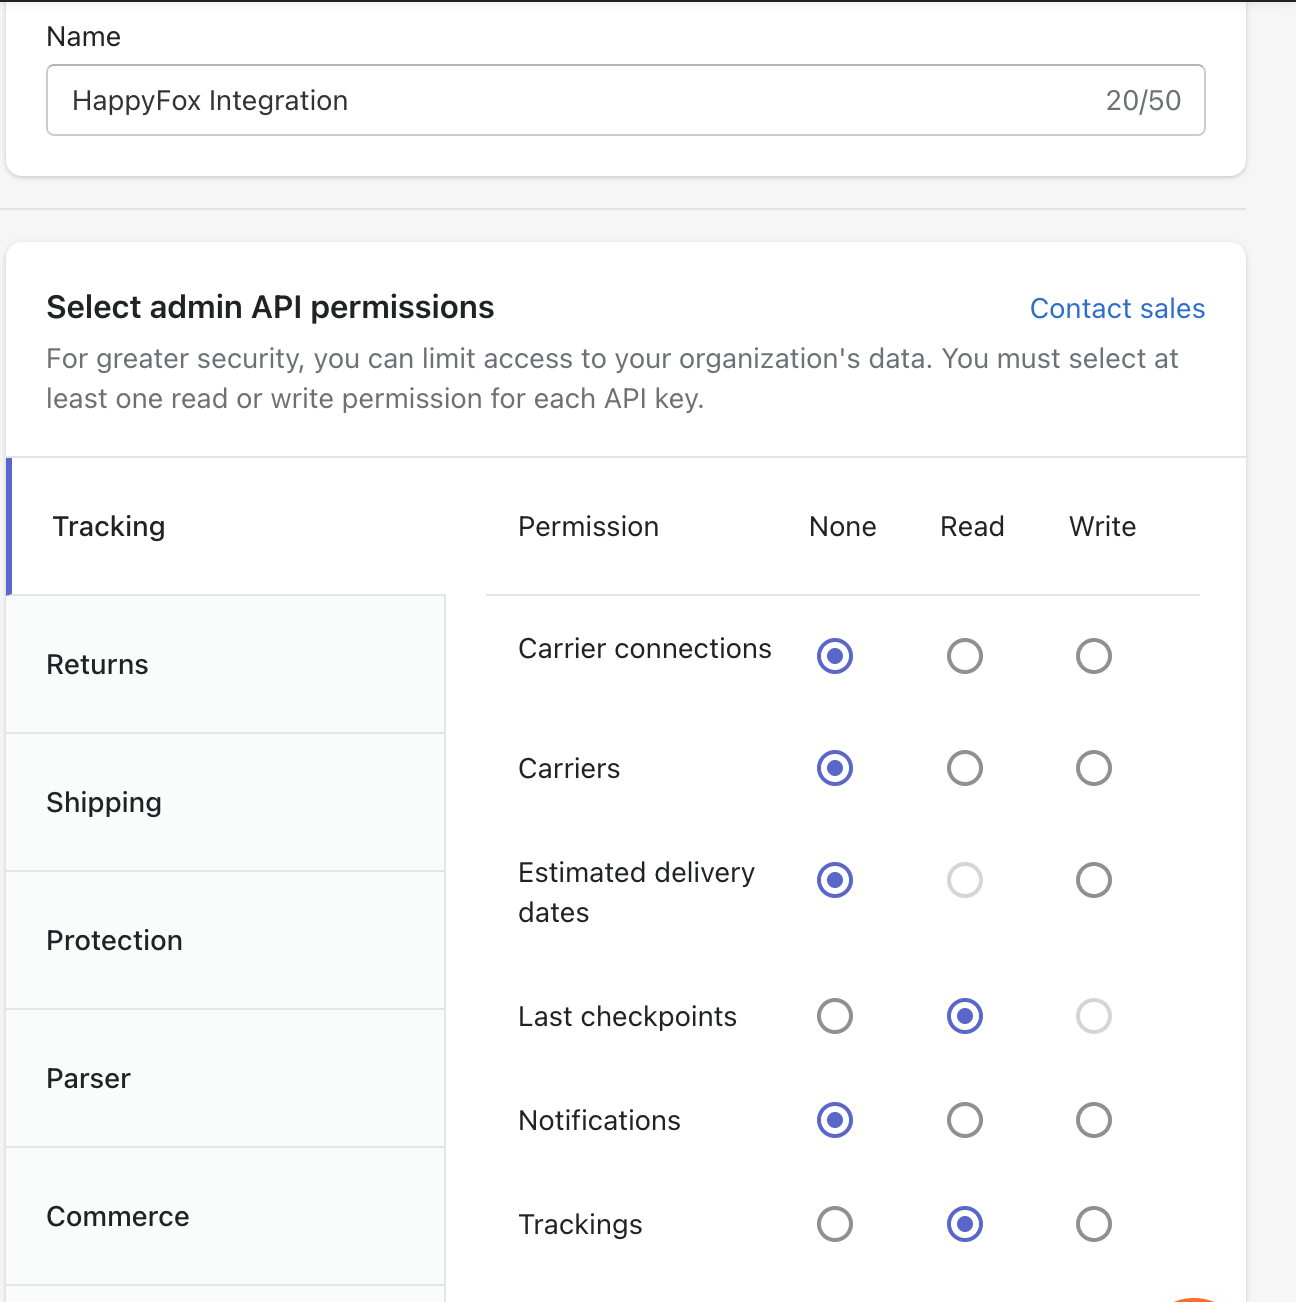
Save the API key after it is generated.
You will also need your Organization details from the same page while configuring the integration in HappyFox.
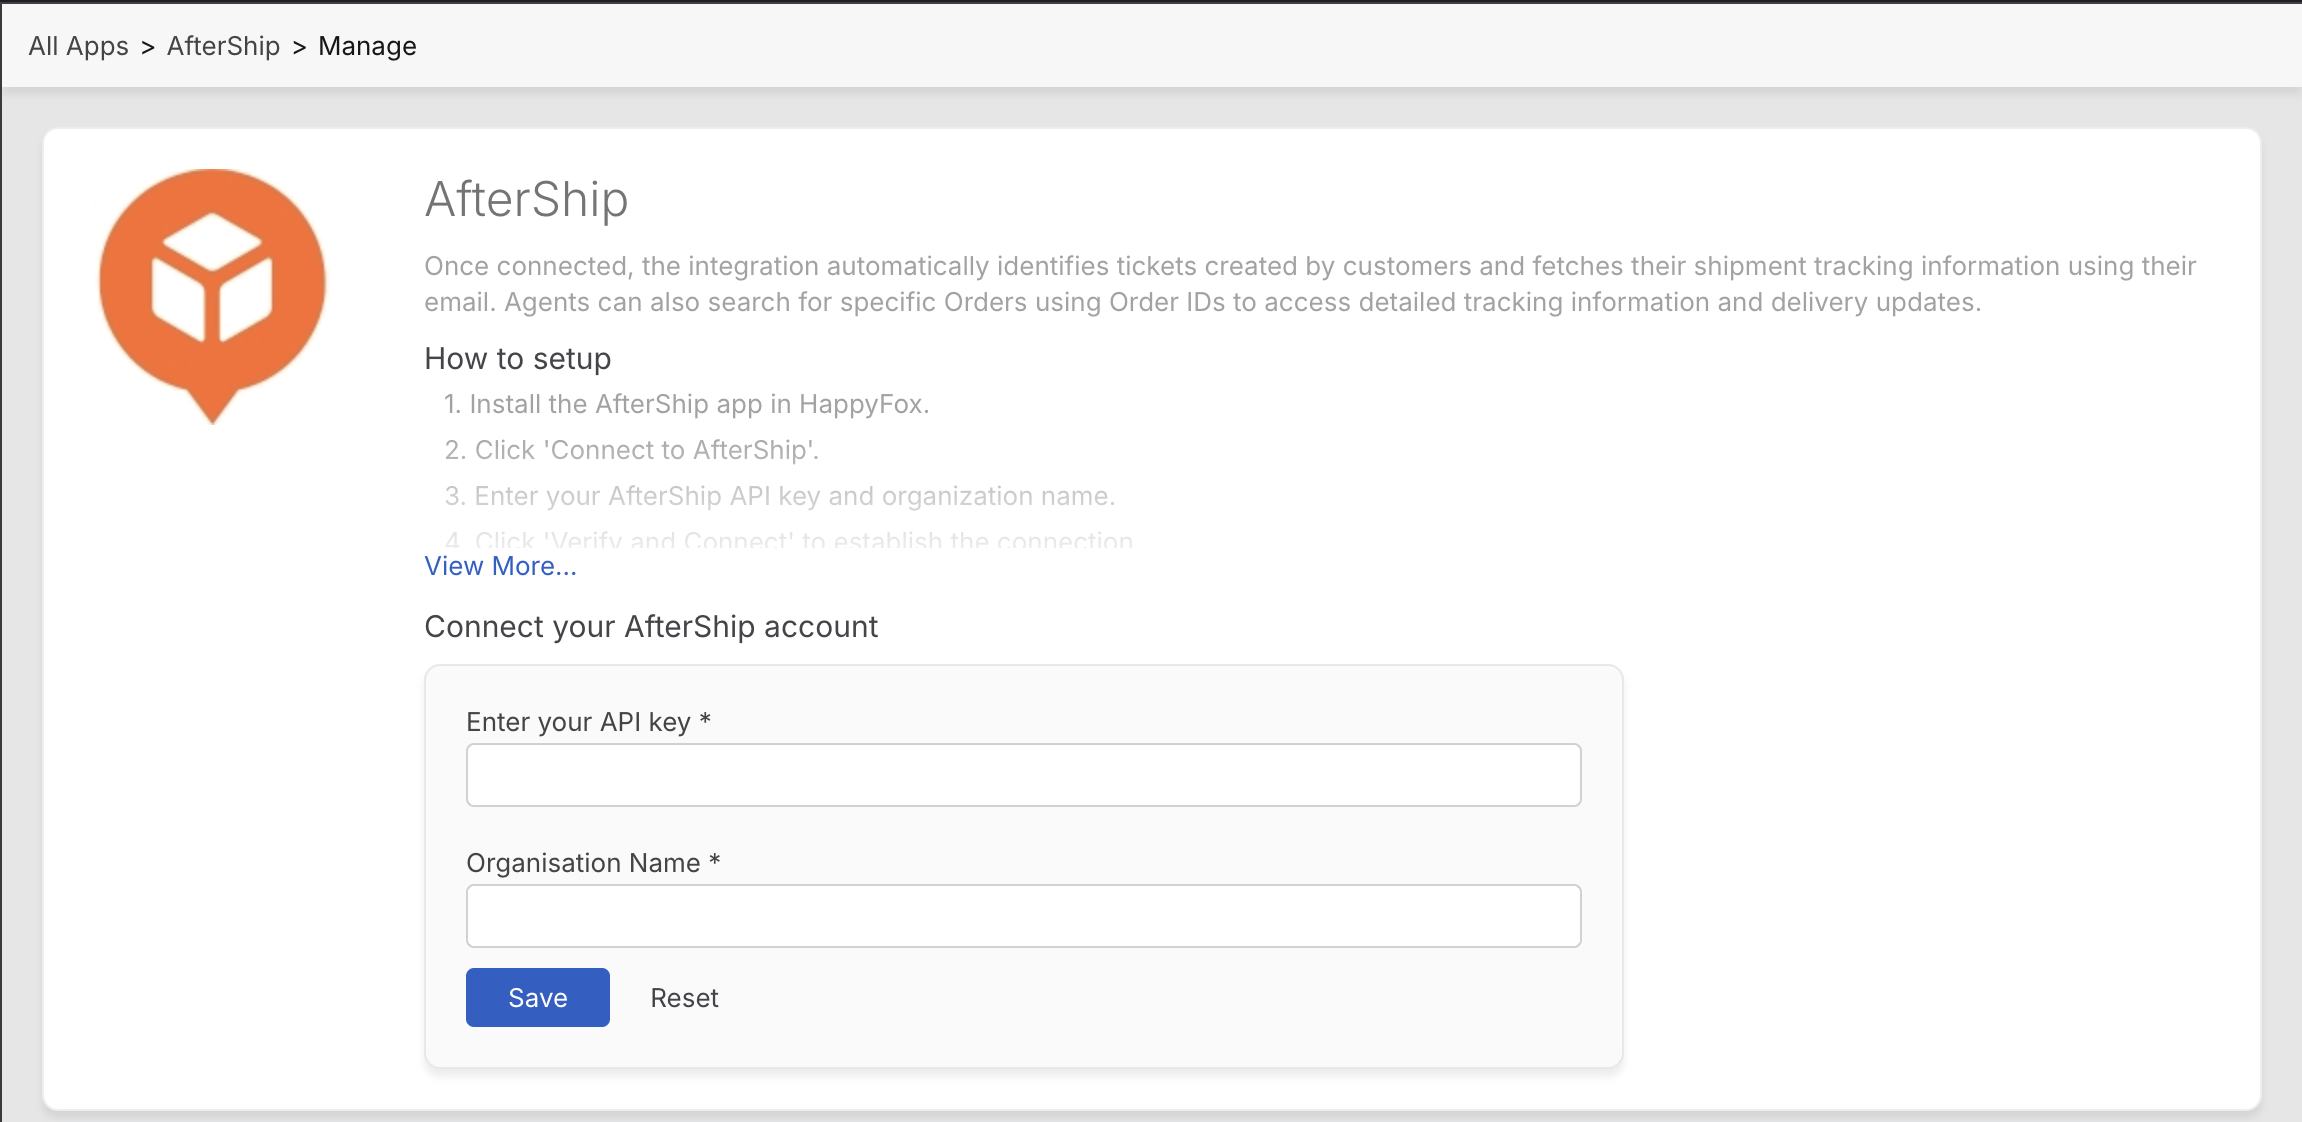
Step 2: Configure AfterShip in HappyFox
Log in to your HappyFox Helpdesk account and navigate to:
Apps → Ecommerce → AfterShip
Click Install under the AfterShip logo.
Provide the following details:
- Enter the organization information from your AfterShip account.
- Paste the API key generated from AfterShip.
- Click Save to complete the setup.
Once saved, the integration becomes active immediately.
Viewing AfterShip Tracking Information in Tickets
After the integration is enabled, shipment tracking information appears in the AfterShip widget on the ticket sidebar.
Tracking information is visible in both the Ticket Creation view, Ticket Details page and Contact Details Page.
Tracking data is automatically fetched when a ticket is opened.
When a shipment is expanded, the information is organized into the following sections:
- Order Details
- Shipment Details
- Fulfilment Details
- Events
AfterShip Tracking Widget
Tracking Search
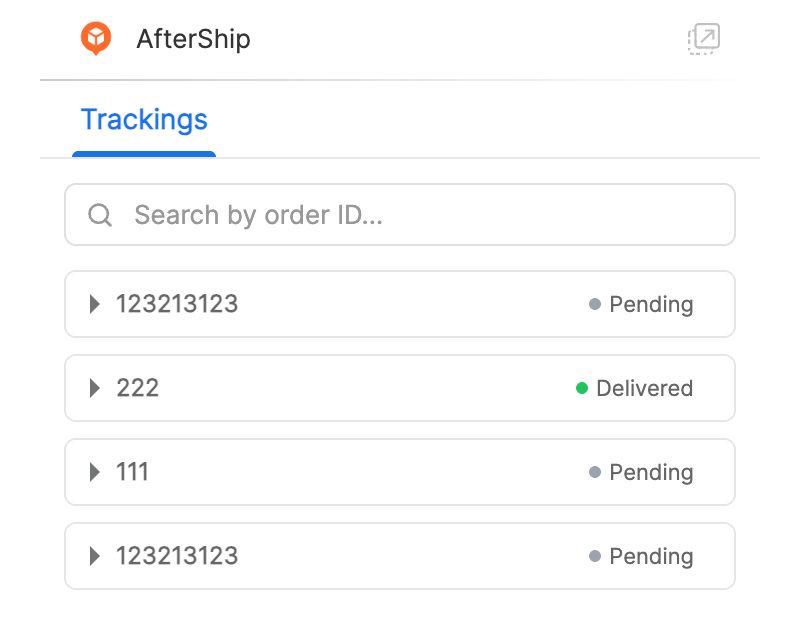
The Trackings tab includes a search bar that allows agents to search shipments by Order ID.
Entering an order number retrieves shipments associated with that order. Clearing the search restores the default tracking list.
Each shipment’s tracking appears as a collapsible window that can be expanded to view detailed tracking information.
Tracking Header
Each shipment is displayed in a collapsed row containing:
- Shipment ID
- Delivery Status
The delivery status appears as a bullet-style indicator instead of a colored tag.
Example:
• Pending
The status indicator appears on the right side of the header.
Order Details
The Order Details section provides basic information about the order associated with the shipment.
This section includes:
- Order ID
- Order No
- Order Date

Shipment Details
The Shipment Details section contains information about the shipment itself.
This section includes:
- Carrier
- Shipping Method
- Picked Up On
- Form and To addresses
- Estimated Delivery
- Tracking URL
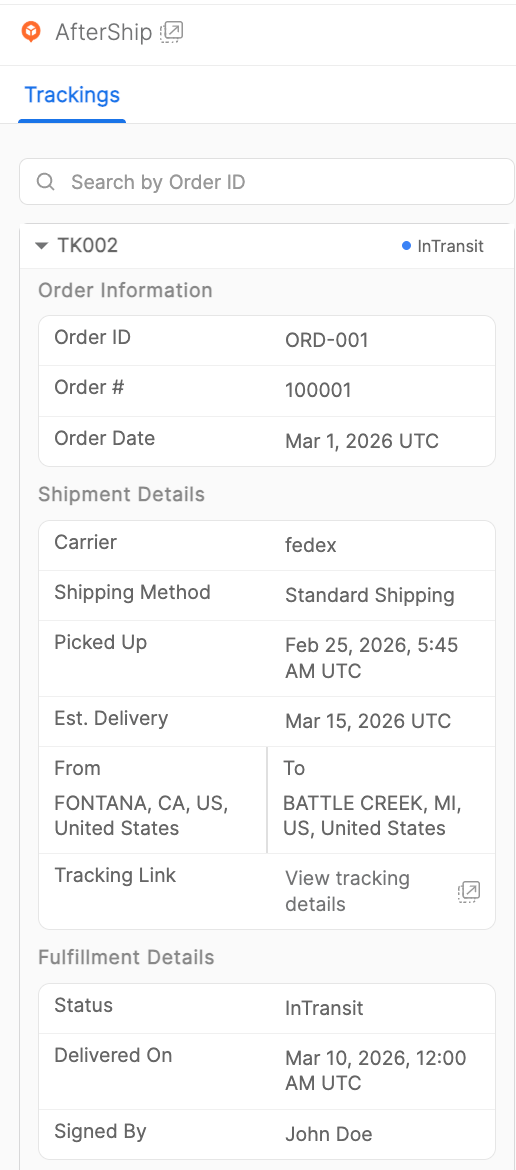
Fulfilment Details
The Fulfilment Details section summarizes the delivery status of the shipment.
This section includes:
- Status
- Delivered On
- Signed By
These fields help agents quickly confirm delivery outcomes and proof of delivery when available.
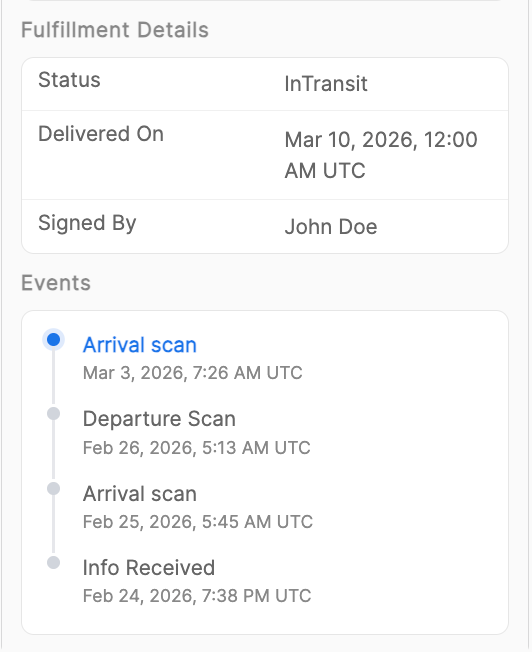
Events
The Events section displays the shipment’s tracking history.
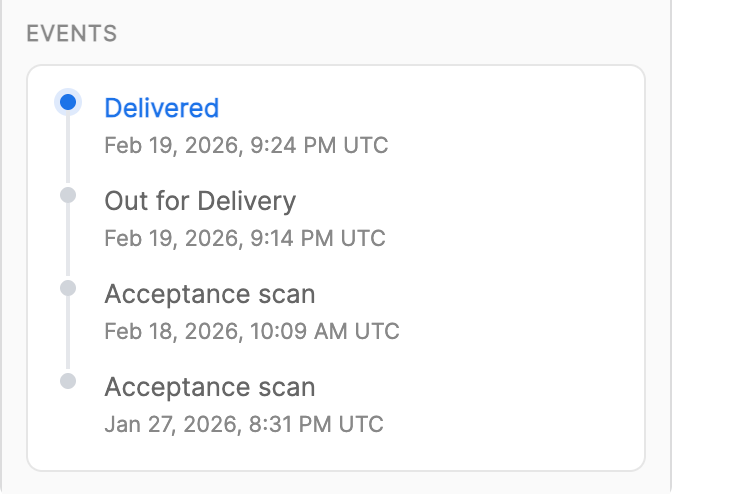
Events appear in a timeline format showing the most recent updates first.
Each event includes:
- Event date and time.
This allows agents to quickly review shipment progress and recent carrier activity.
Editing the Integration
You can edit the AfterShip integration at any time to:
- Update API credentials
- Modify organization details
- Enable or disable the integration
Changes take effect immediately after saving.
Disabling the Integration
To disable the AfterShip integration:
- Navigate to Apps → Ecommerce → AfterShip.
- Click Unlink Integration.

