Work Schedules help you clearly define the work timings of your support team. You can have more than one Work Schedules configured, based on your team set up. You can then chose to include them in any SLAs or Smart Rules to exclude the nonworking hours when calculating time-based conditions.
Available on all subscription plans.
Watch a feature Walkthrough 📽:
Navigation:
Go to Automate >> Work Schedules to manage Work Schedules.

Note: Page visibility is governed by a permission "Manage Work Schedules". If you are not able to see this, then contact your helpdesk administrator.
Manage Work Schedules:
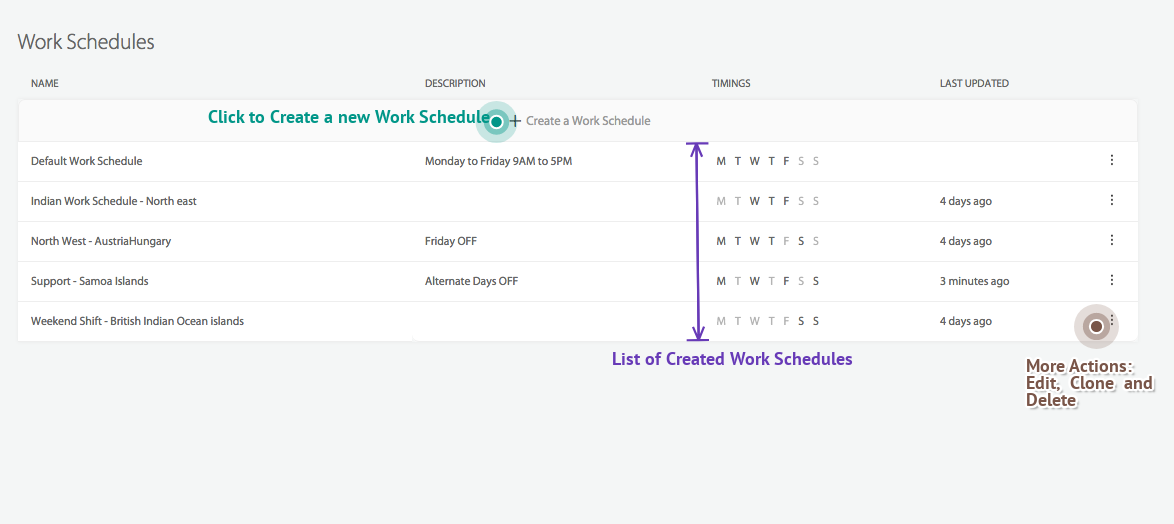
Create a New Work Schedule:
Steps:
- Click Create a Work Schedule.
- Choose the work-timings for your agents over the course of the week.
- Choose public holidays and other predeclared holidays when your agent will not be working.
- Enter a name and description for the Work Schedule and choose the time zone applicable and finish creating the Work Schedule.
Modify a Work Schedule:
Steps
- Click on the desired Work Schedule to view/edit.
- Find all the information about that Work Schedule in the "Details Sidebar".
- Click "Edit" to edit the Work Schedule information.
- Click "Clone" to create a similar Work Schedule.
- Click "Delete" to delete the Work Schedule.

To know how Work Schedules work in HappyFox Classic, refer to the document attached.