
 970
970
Compact View now supports queue-level customization, allowing you to define which ticket fields appear for each queue. With Queue-Specific View, you can tailor the layout of the compact ticket table based on the type of queue you're working in—making it easier to focus on the most relevant information.
Applicable Plans:
✔ Basic ✔ Team ✔ Pro ✔ Enterprise Pro
Accessing the View Settings:
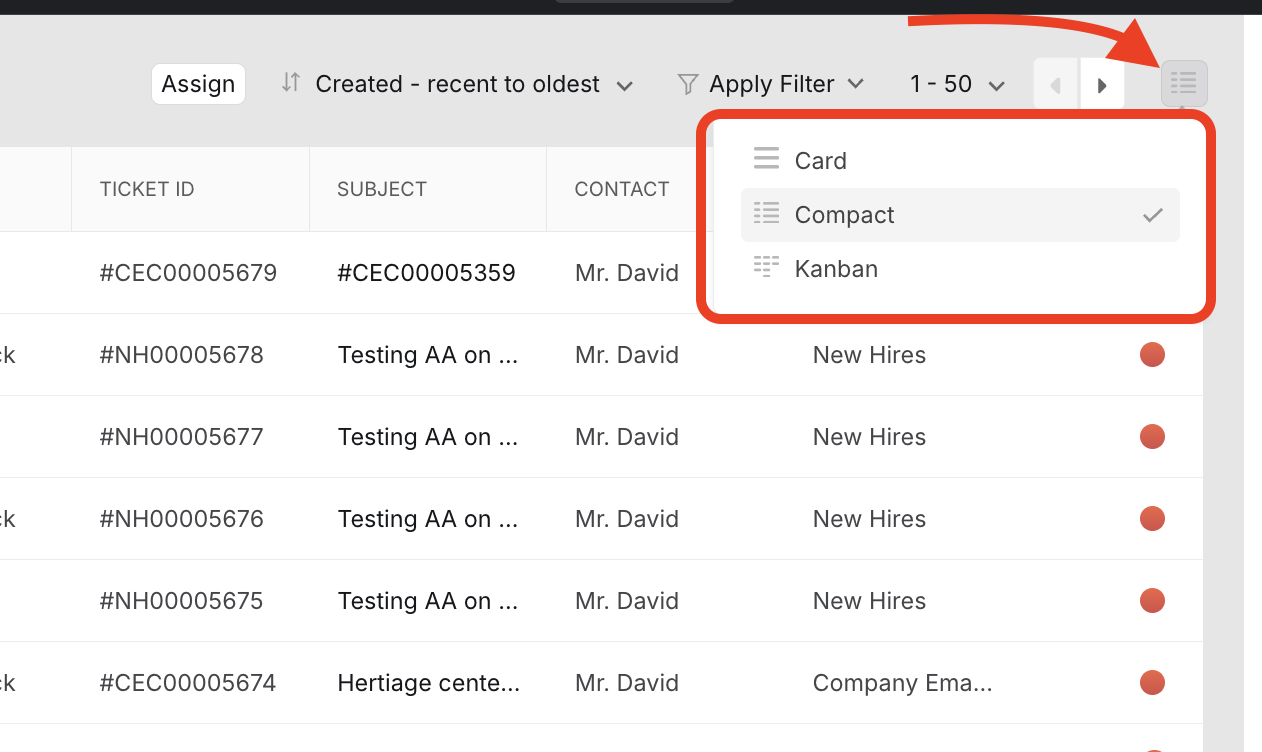
- Switch to Compact View using the ticket layout toggle.
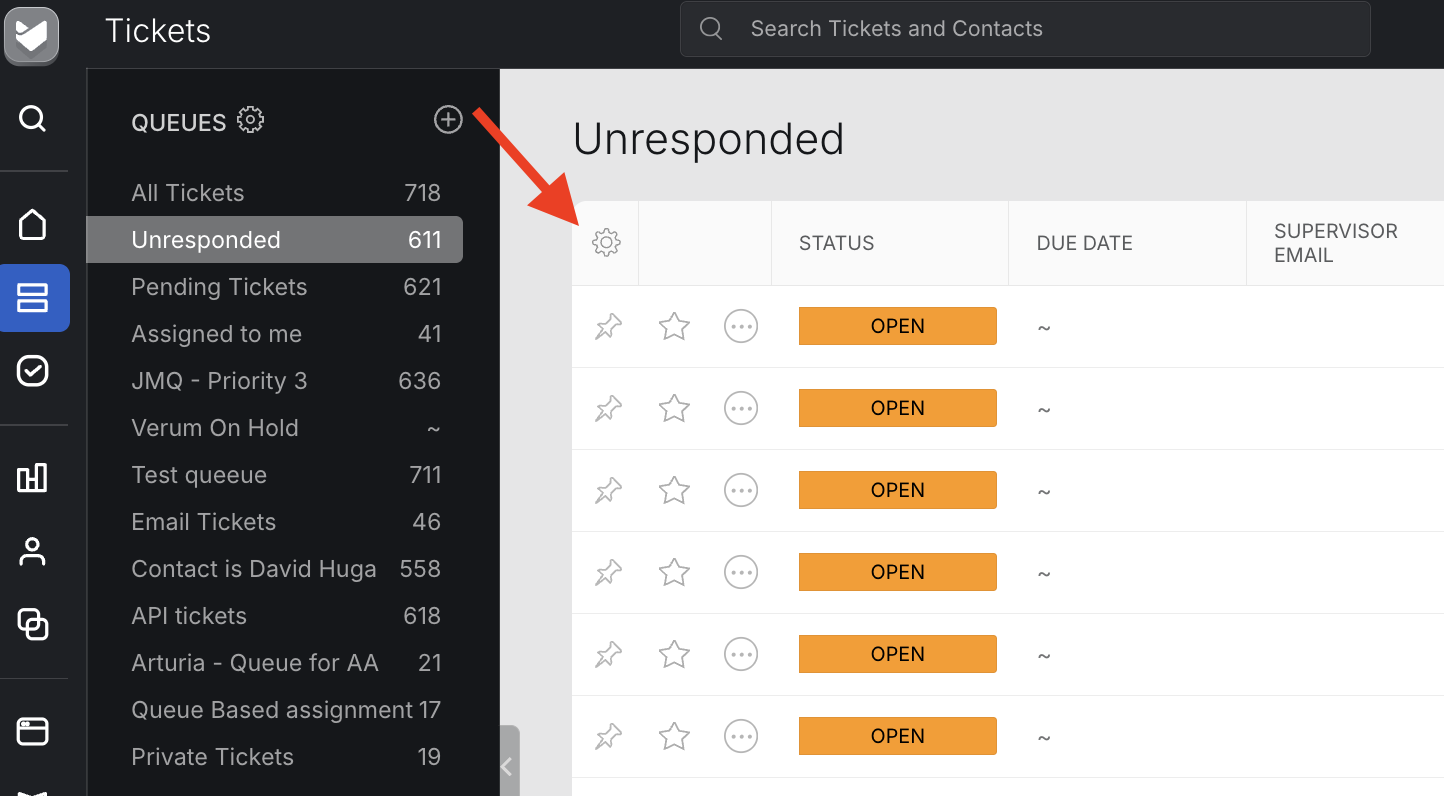
- Click the Settings (⚙️) icon located at the top-left corner of the compact ticket table.
- The Configure View side pane will open.
Selecting a View Type:
In the Select View dropdown, you can choose from three options:
- Default View:
Displays a standard set of ticket fields common across all queues. - Custom View:
Lets you create a personalized field layout that applies across all queues. You can select and reorder fields to suit your workflow. - Queue-Specific View:
Allows you to create a unique layout for the currently selected queue. This view will override the Default or Custom View for that queue.

Note: Once selected, your changes are automatically saved. No additional save action is required.
When to Use Queue-Specific Views:
Use this option if different queues need to display different ticket fields for quick reference. For example:
- A Support queue might prioritize Issue Type and Status.
- A Billing queue may require fields like Invoice ID or Payment Status.
Frequently Asked Questions:
Q: Does this override the global Custom View?
A: No. Queue-Specific View applies only to the selected queue in Compact View. The global Custom View still applies to queues without a specific configuration.
Q: Can different users in the same account set different views per queue?
A: Yes. Queue-Specific Views are user-specific, not account-wide. Each user can customize their own view per queue without affecting how other users see it.

