With Task Templates, you can easily create a set of known frequently used tasks. Whether it be a checklist of to-do items to maintain your IT infrastructure or steps to onboard a new hire, using task templates ensures that nothing gets missed out. You can also search, filter, and categorize templates, making it easy to find exactly what you need in no time.
Applicable Plans: ✖️ Mighty ✖️ Fantastic ✔️ Enterprise ✔️Enterprise Plus
Watch a feature walkthrough 📽:
Creating & Editing Task Templates
"Manage Task Templates" managerial permission is required for users to create and edit task templates. This permission does not affect the template showing up under the "Tasks" pane in ticket-detail page.
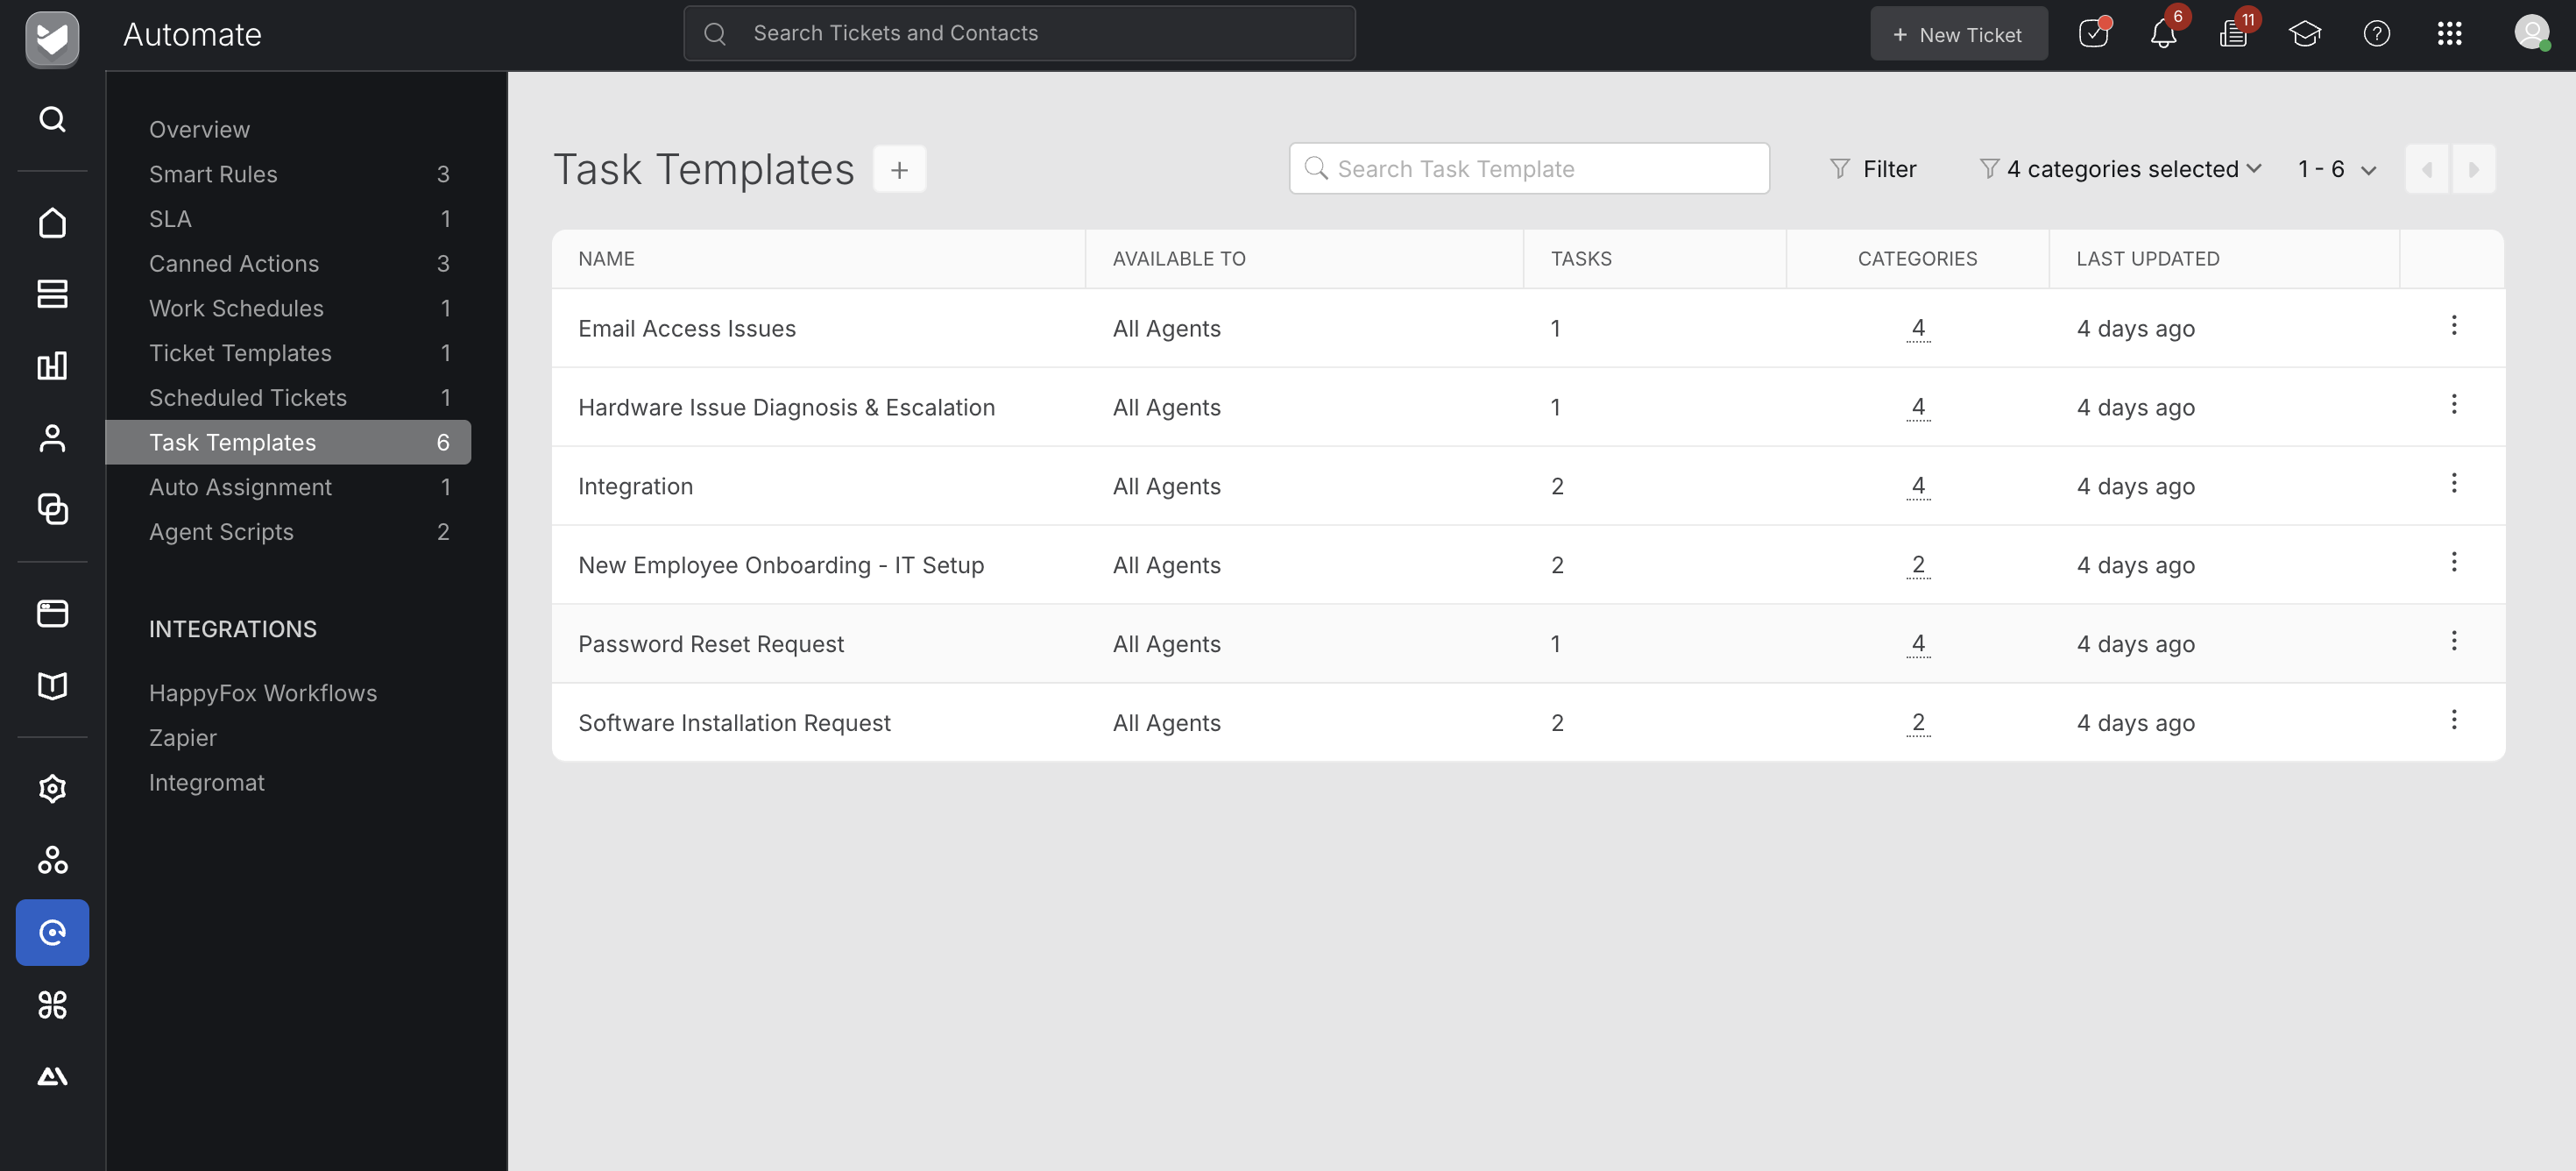
Task Template has been added as a new sub-module under “Automate”.

1. To create a task template, navigate to the “Task Template” module and click on the “Create a New Template” button.
2. Add the tasks that will be created when the template is applied. Optionally, you can set the assignee and due-date for individual tasks. You can also reorder the tasks that you’ve added if sequencing is crucial.
Assignee: For the assignee value to be set correctly when the template is applied, please ensure that the agent belongs to the category that the task is associated with.
Due-date: When the template is used on a weekday, the due-date field is set to end of the day of the person applying the template i.e., 11:59 PM of the current date. However, when the template is used on a weekend, the task will be due by the end of the next weekday i.e., 11:59 PM.

3. Choose a name for the task-template that can be used for identification when applying. You can also set an internal description, restrict access to this task template by making it available to yourself or to “All Staff”.
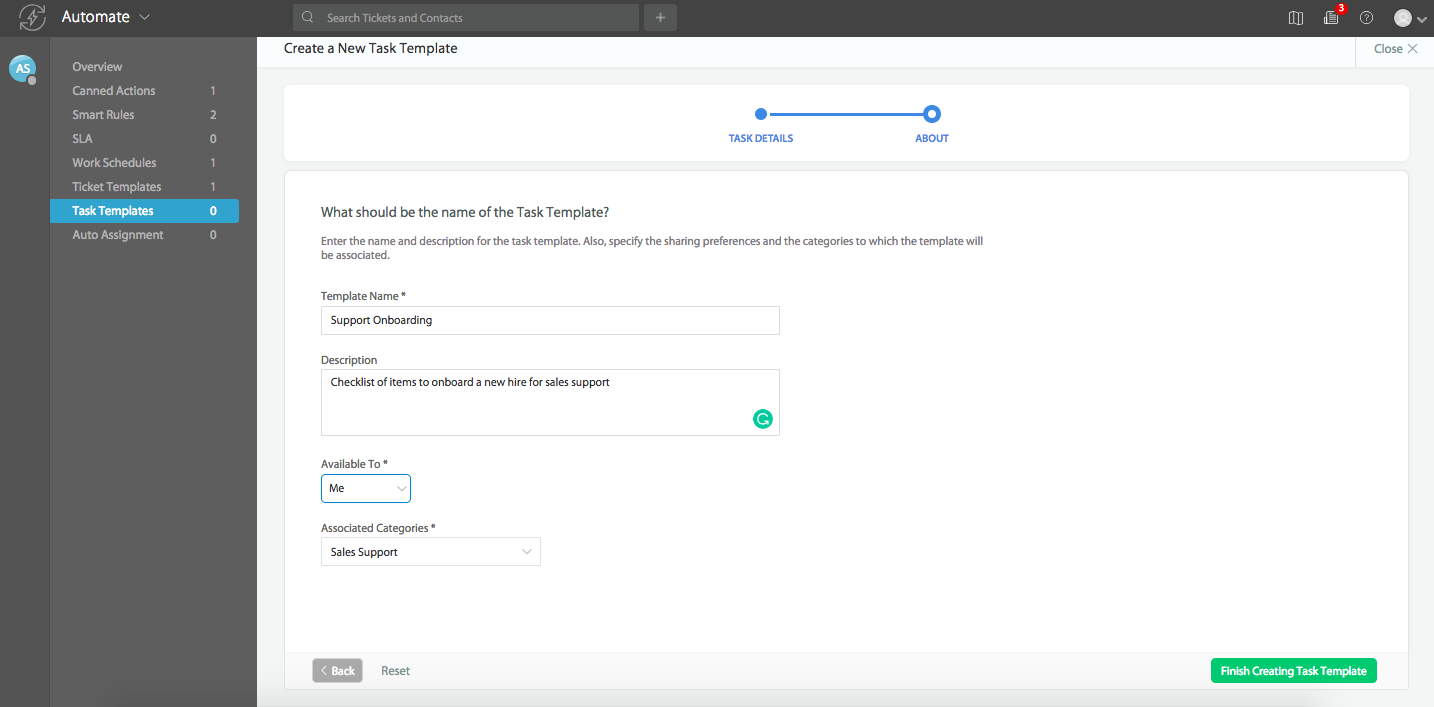
4. Finally, choose the category association for this task-template. The task template will be available on tickets that belong to the categories chosen in this step.
Save the task-template.
To edit a task-template, click on the template from the list screen. Click “Edit” action to modify your task template.

Using Task Templates
A task template can be applied to automatically create a set of predetermined tasks and associate them with a ticket. You can use task-templates on existing tickets or while creating a new ticket.
On Existing Tickets
1. To apply a task-template on an existing ticket, navigate to the detail page of the ticket where you where you want the tasks created.
2. Locate the Task pane on the right side and click on “Use Template”.

3. Choose the template that you want to apply.
4. The tasks will be automatically created on the ticket.

While Creating New Tickets
You can also apply task templates while creating new tickets.
1. Click on the "+" icon from the HappyFox toolbar to open the new ticket form.
2. Select the category for the ticket that you want to create.
3. Once the category is chosen, the list of task templates associated with the category will be shown in the "Task Template" drop-down.

4. Once you choose a task template and finish creating the ticket, you can find the relevant tasks automatically created and associated with the new ticket.