
 592
592
With the Klaviyo integration, your HappyFox agents can view marketing campaign details associated with a ticket’s contact directly within the Help Desk interface without switching between applications. Agents can also manage list membership from the ticket, making audience management easier and more efficient.
Available in all pricing plans
Key Capabilities
✓ View all Klaviyo campaigns associated with the ticket contact.
✓ Access direct links to contact Klaviyo profiles from tickets.
✓ Manage Klaviyo list subscriptions of your contact from HappyFox.
Prerequisites
To set up the Klaviyo integration, you’ll need:
- A Klaviyo account with API access and a Private API Key.
- Manager permissions in HappyFox to install and configure integrations.
Setting up the Klaviyo Integration
Step 1: Obtain Klaviyo API Credentials
- Log in to your Klaviyo account.
- Navigate to Account → Settings → API Keys.
- Choose one of the following:
- Copy an existing Private API Key, or
- Click Create API Key to generate a new one.
- Include the following scopes:
- accounts: Retrieve accounts related to the API key.
scopes: accounts:read
- profiles: Retrieve profiles for the given email ID.
scopes: profiles:read
- events: Retrieve all events in an account.
scopes: events:read
- accounts: Retrieve accounts related to the API key.
- Copy an existing Private API Key, or
- Keep this key in hand as you’ll enter it during integration setup in HappyFox.
Step 2: Install the Klaviyo App inside HappyFox
- Go to Apps → Customer Engagement → Klaviyo.
- Click Install.
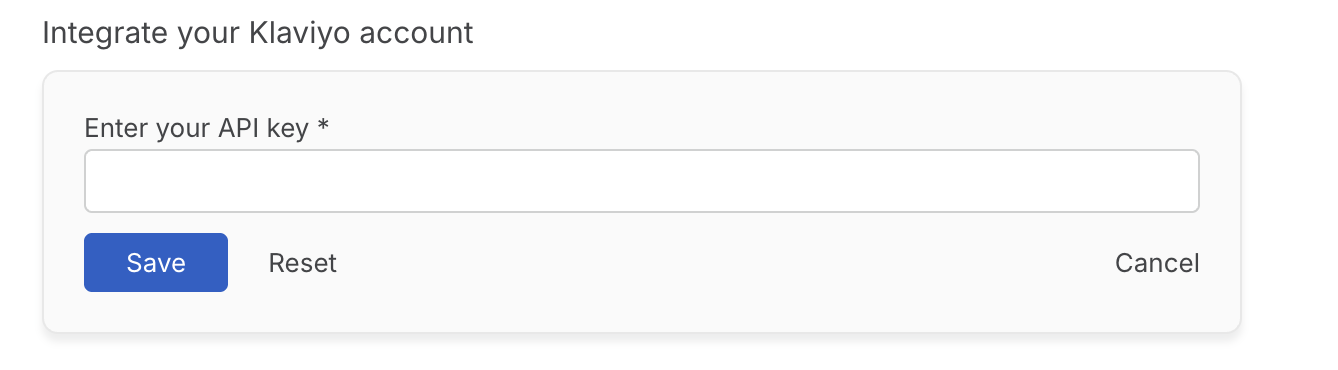
- Enter your Klaviyo credentials and click Save.
Subscribing Contacts to Klaviyo Lists from HappyFox
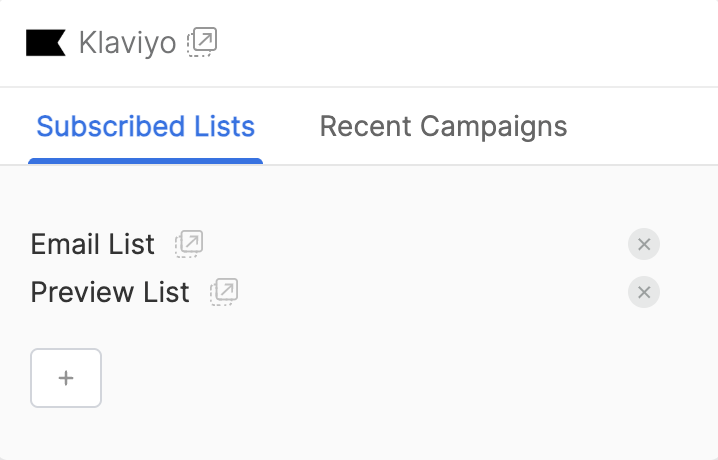
After installation, a Subscribed Lists tab appears in the integration widget on the ticket details page.
How it Works
-
The tab shows all lists the contact currently belongs to.
-
Agents can add the contact to one or more lists directly from this tab.
-
Agents can remove the contact from any list as needed.
-
Changes are reflected immediately in the marketing platform.
-
If a contact isn’t in any lists yet, the tab shows:“This contact isn’t in any lists yet.”
Viewing Klaviyo Campaigns inside HappyFox
After installation, a Klaviyo Campaigns section appears in your ticket details view and during ticket creation.
How it Works
When viewing a ticket or creating a ticket, the integration automatically matches the ticket contact’s email with their Klaviyo profile and shows all Email Campaign messages sent to that profile.
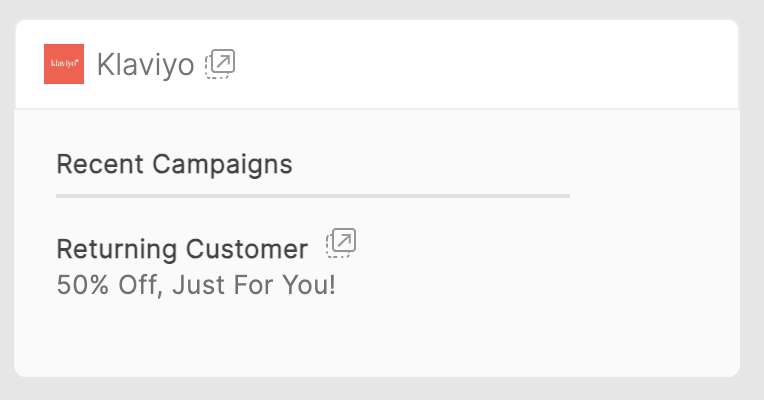
The sidebar displays the corresponding campaign names and subjects.
On Ticket Details Page:
During Ticket Creation: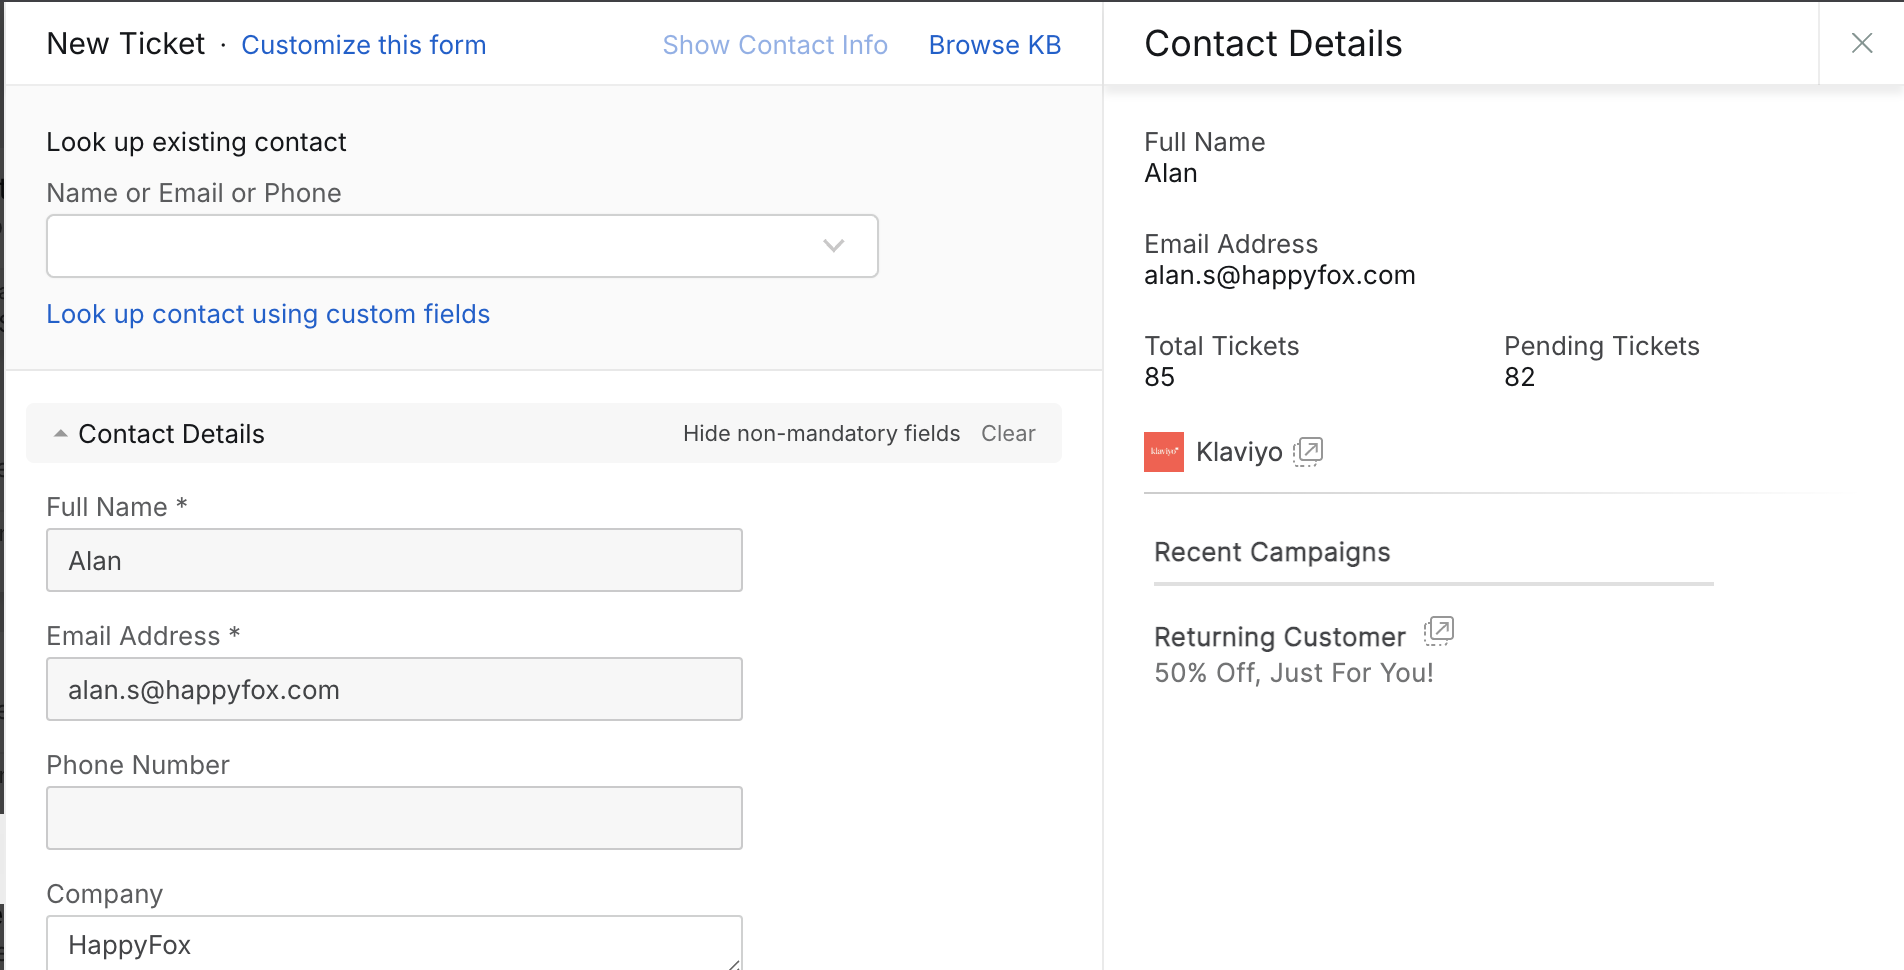
Note: Only email-based campaigns are displayed. Other campaign types (e.g., SMS) are excluded.
Navigating Campaigns
- Click the arrow beside “Klaviyo Campaigns” in the ticket sidebar to open the contact’s Klaviyo profile.
- Click the arrow beside a campaign name to open that specific campaign in Klaviyo.
Disabling the Integration
At any time, you can disable the Klaviyo integration:
- Go to Apps → Customer Engagement → Klaviyo.
- Click Unlink Integration.
Disabling the removes Klaviyo campaign data from ticket views but does not delete any data from your Klaviyo account. You can always enable it later on the ‘Manage’ page of the Klaviyo integration.

