
 48428
48428
The HappyFox account name created during your account registration (company.happyfox.com) can be remapped to suit your custom domain requirements - Eg. support.yourcompanyname.com. This article illustrates the procedure to set up custom domains and SSL for your HappyFox account.
✖️ Basic ✔️ Team ✔️ Pro ✔️ Enterprise PRO
✔️ Growth ✔️ Scale ✔️ Scale Plus ✔️ Ultimate
Steps to configure Custom Domain:
- Navigate to Main menu >> Manage >> Custom Domain
- Note: This action requires “Manage custom domain” permission.

- Click on the “+” icon and to open the custom domain create a form as shown below:
- HappyFox domain name: Displays the list of all the primary or multi-brands URLs(if any) and lets you choose the domain for which you would like to create a custom domain.
- Custom domain name: Provide the desired custom domain to which you want to switch to.
- Prerequisite: You need to set up a CNAME record on your DNS provider's control panel to point to <accountname>.happyfox.com. If you are setting up a custom domain for a custom brand, you need to set up a CNAME record for your custom domain to point at <brand>.<accountname>.happyfox.com. See the example below.
- Click on “Verify”. This verifies the CNAME record for the custom domain you have mentioned above.
- Once your custom domain is verified and created successfully, you can proceed to configure an SSL certificate for the custom domain.
- Make sure you have the “Custom domain active” drop-down to “Yes”. “No” would disable this custom domain.
DNS configuration example:
If your custom domain is support.yourorg.com and your HappyFox account domain is yourorg.happyfox.com, then you have to set the following CNAME at yourorg.com DNS zone.
CNAME name: support
CNAME target: yourorg.happyfox.com
If your HappyFox account is hosted in the EU datacenter, the HappyFox account url would be yourorg.happyfox.net
If your custom domain support-brand.yourorg.com should be used to load a specific brand's support page at brand.yourorg.happyfox.com, then you have to set the following CNAME at yourorg.com DNS zone.
CNAME name: support-brand
CNAME target: brand-yourorg.happyfox.com
For the EU datacenter, this url would be brand-yourorg.happyfox.net
⚠ Notes:
1) Adding CNAME for HappyFox domain(s) is the only supported method to configure custom domain.
2) If you are using Cloudflare as the network infrastructure provider, please set the CNAME record as DNS only and not DNS proxied by Cloudflare. This is because HappyFox is already on Cloudlfare.

Steps to enable SSL:
Custom domains will need to be SSL enabled. Using HappyFox, you can now have the SSL certificate for your custom domain managed by CloudFlare. This feature is offered for all plans. Alternatively, you may also use your own SSL certificates as well.
Note:- However, you will not be able to access your account using the mobile app until you install SSL on your custom domain.
Once you set the custom domain to active, you can view the SSL settings section below. You can choose the required SSL Certificate value by choosing one of the following values.

Managed Certificate powered by Cloudflare
- When this option is chosen, the SSL certificate is automatically managed by Cloudflare. SSL Certificate renewals are also done automatically by HappyFox.
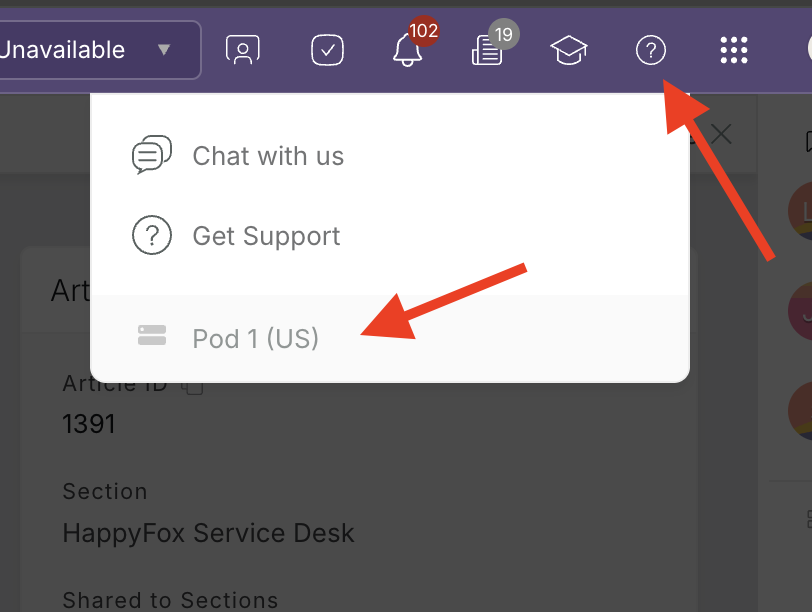
- This feature is available for all US hosted accounts and on plans offered by HappyFox. To know your hosting location, click the ? icon at the top right corner on your agent profile
- If your authoritative DNS has CAA records, please reach out to [email protected] to know the changes to be done in your DNS in order to support this option.
Custom Certificate
-
Paste the respective certificates in .pem format into private key, primary and intermediate certificate boxes. The private keys must NOT be encrypted. If the SSL provider issued an encrypted SSL key, then please decrypt it and paste it.

-
Note: You can contact any SSL vendors like GoDaddy, Verisign, Rapid SSL, or any other popular vendors out there to purchase a certificate. If prompted, set server type as Apache while purchasing an SSL cert.
-
Verify the certificates.
-
On successful verification, the SSL gets enabled.
Important Note: Self-signed SSL certificates will not provide HTTPS - You will still get a Security warning when visiting your support portal with self-signed certificates configured and bypassing the warning will pose security threats.
The existing SSL Active field is deprecated as of 8-Mar-22
-
Existing accounts who have set SSL Active as Yes will be considered as Custom Certificate for the field SSL Certificate
-
For existing accounts (in the US data centers) that have set SSL Active as No - When the admin edits the custom domain/SSL details of the domain and visits this page, the user will be required to setup an SSL certificate either by Managed Certificate powered by Cloudflare or a Custom Certificate. Cloudflare based certificate is not available for accounts hosted in the EU datacenters.
To know how to setup SSL for your multi-brands please click here

