 58
58
HappyFox help-desk supports custom hostnames through a CNAME-based setup. To ensure your custom domain works correctly, it is important that the CNAME record is publicly accessible and resolvable on the internet during DNS lookup. This article explains the required DNS configuration.
1. Add a Publicly Accessible CNAME Record
To map your custom domain (e.g., app.yourdomain.com) to your HappyFox help-desk urls:
-
Log in to your DNS provider’.
-
Create a CNAME record for the subdomain you want to use.
-
Point the CNAME to the target url <account-name>.happyfox.com
Eg.
For US accounts - acme.happyfox.com
For EU accounts - acme.happyfox.net -
If this is for a HappyFox multi-brand, enter the multi-brand url as the target.
Eg.
For US accounts - support1-acme.happyfox.com
For EU accounts - help1-acme.happyfox.net
Important:
Your CNAME record must be publicly accessible. Any mechanism that masks, hides, or alters the record (such as certain proxy modes) can prevent domain validation and SSL issuance from completing successfully.
2. Additional Instructions for Customers using Cloudflare DNS
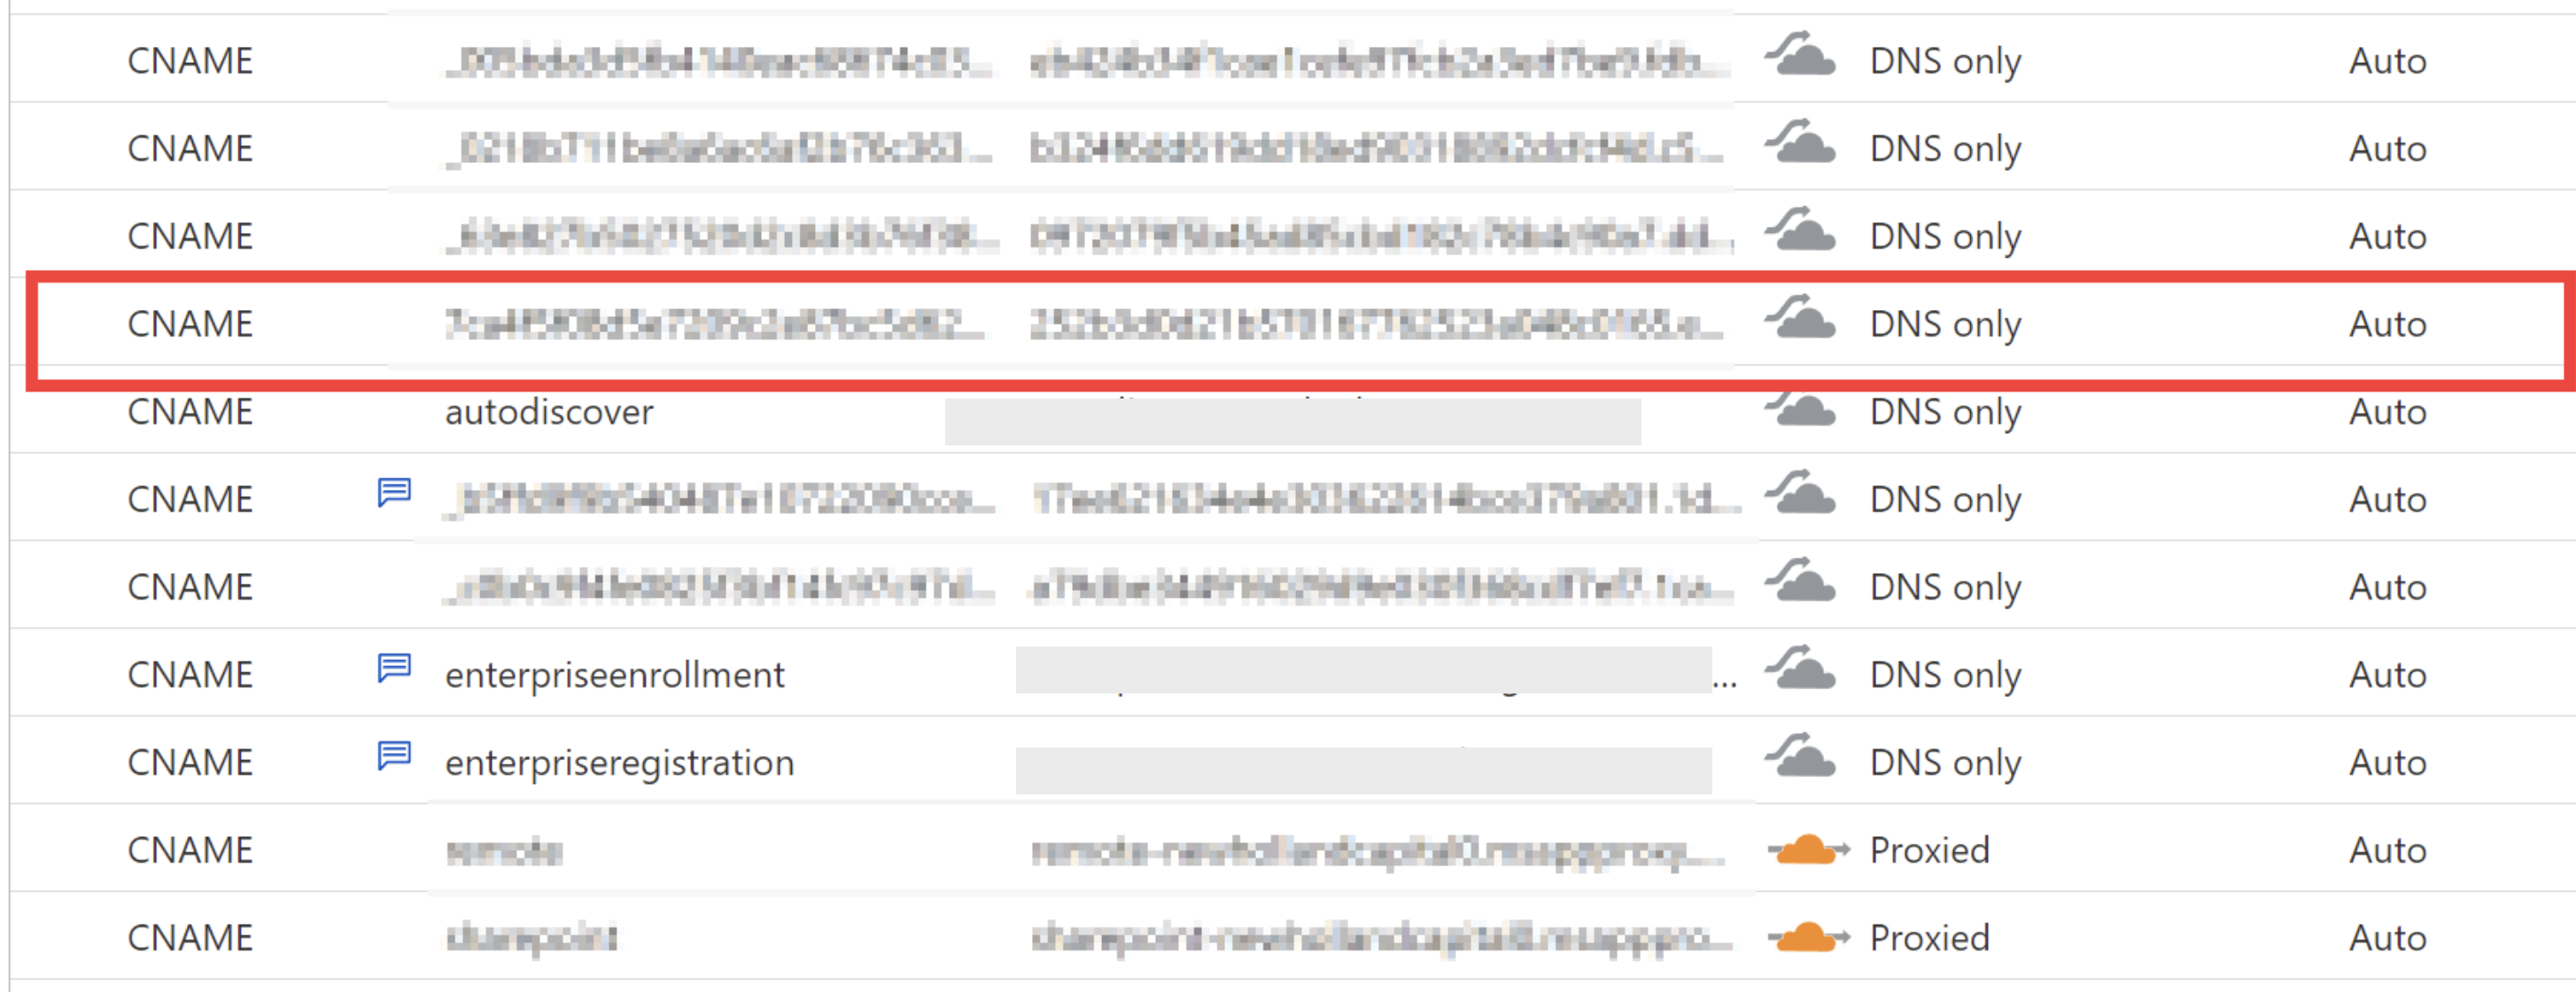
If your DNS is managed through Cloudflare, please ensure the CNAME record is configured as:
✅ DNS Only (Grey cloud)
❌ Not Proxied (Orange cloud)

Cloudflare’s Proxied mode hides the underlying CNAME, making it unreachable during validation. Setting the record to DNS Only keeps the CNAME publicly visible as required.
3. Verification
After creating the CNAME record:
-
Allow a few minutes for DNS propagation.
-
Verify that the record resolves publicly using tools such as
dig,nslookup, or online DNS checkers. -
Once accessible, please complete the rest of the configuration as per this article
Need Assistance?
If you’re unsure whether your CNAME is resolving correctly or need help configuring DNS, contact [email protected]


